- Member DIN
- S2424
Thanks mawrTRON......I'll do that.
Didn't get a chance to update on Friday....had family emergency to deal with
Update:
My usual method of filling gaps is to use paintable caulk and then seal up the piece. For some reason after I did that, the caulk started to pull away and I was able to peel away adn everything too easily. Even the holes and gaps. everything was falling out. And I had a lot of these little divots to fill (Bad batch of foam pads). I don't usually seal a piece before I fill it but I had to try something....I used mawrTRON 50/50 sealant method but this made the caulk stick even less so again change of tactics. I have heard of people using Spackle to fill the gaps but never tried thinking that it would be too brittle for foam.
OK so lets look as the progression of my insanity....
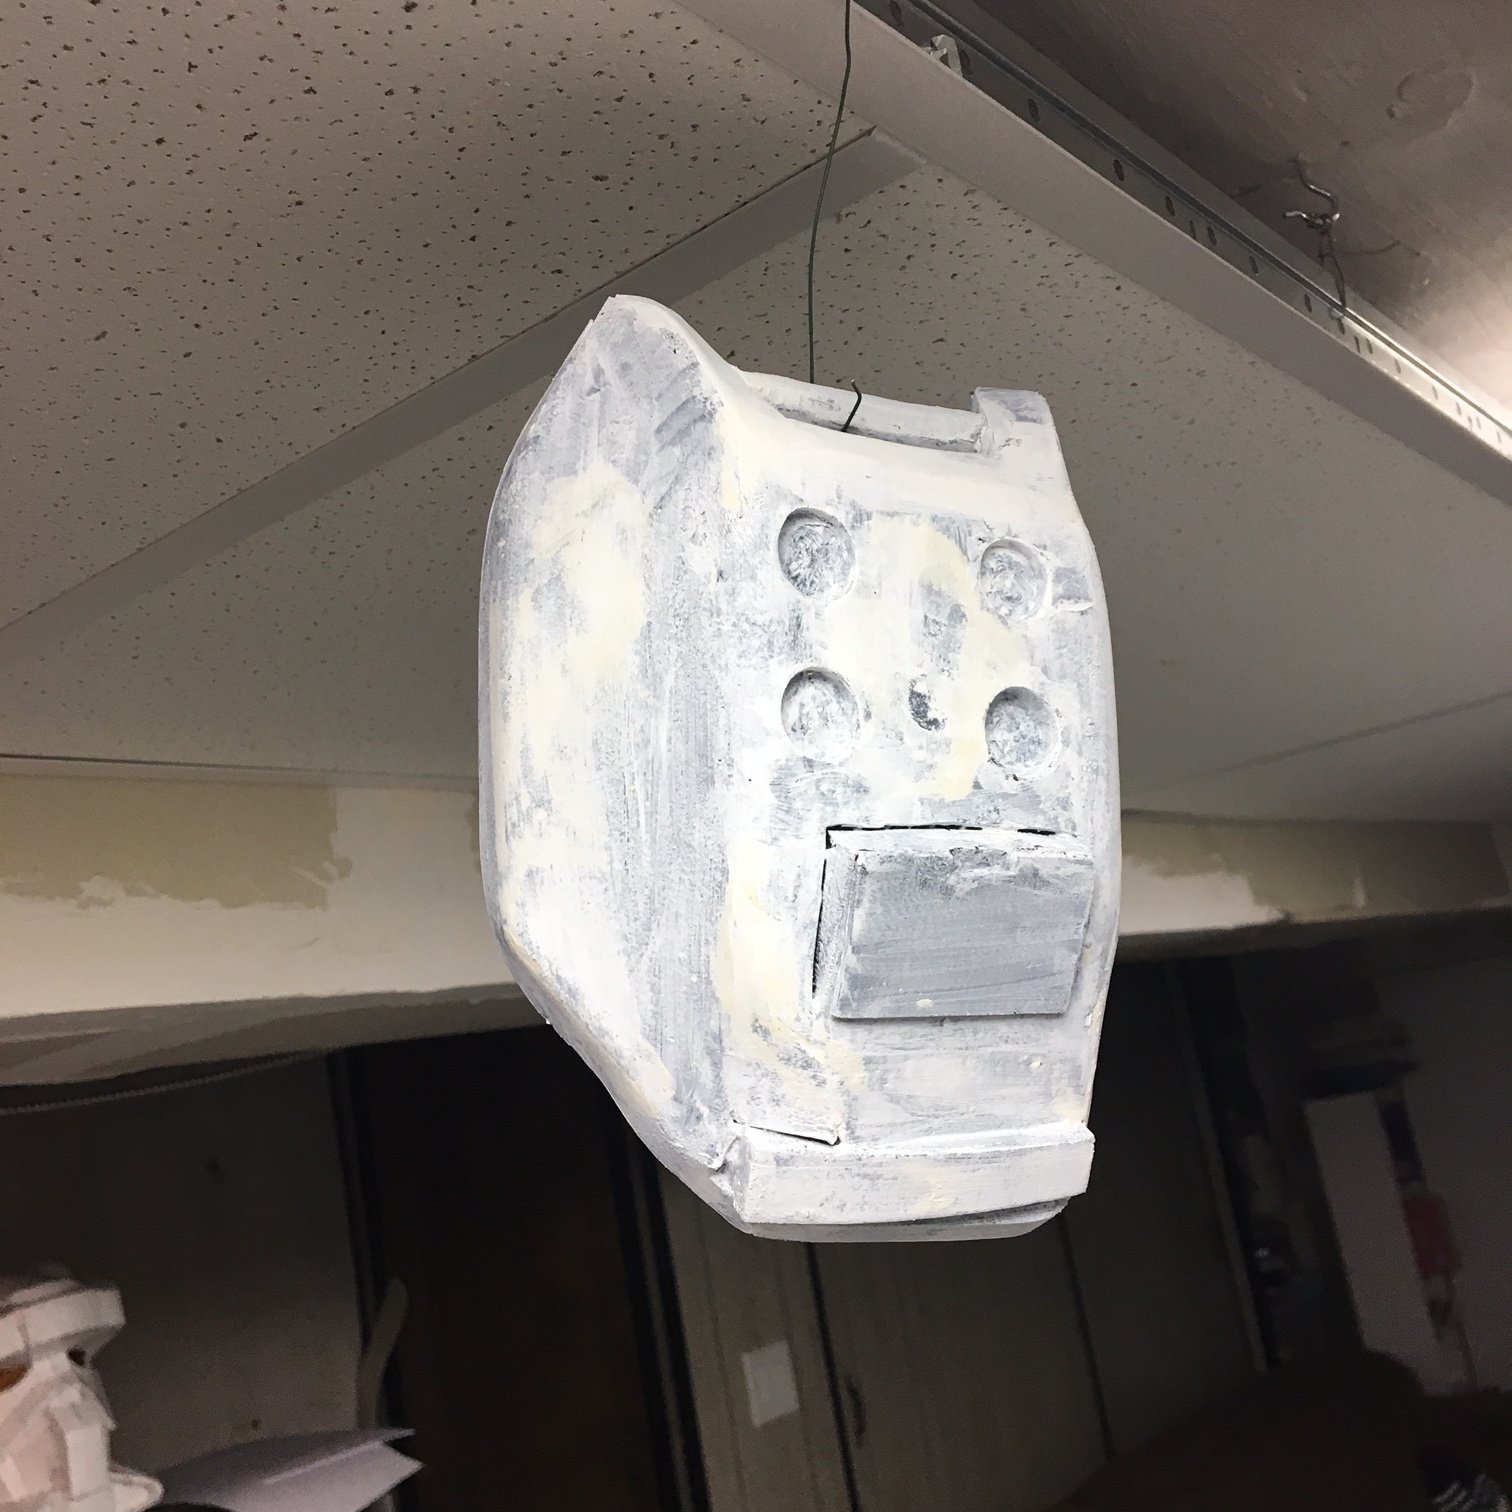
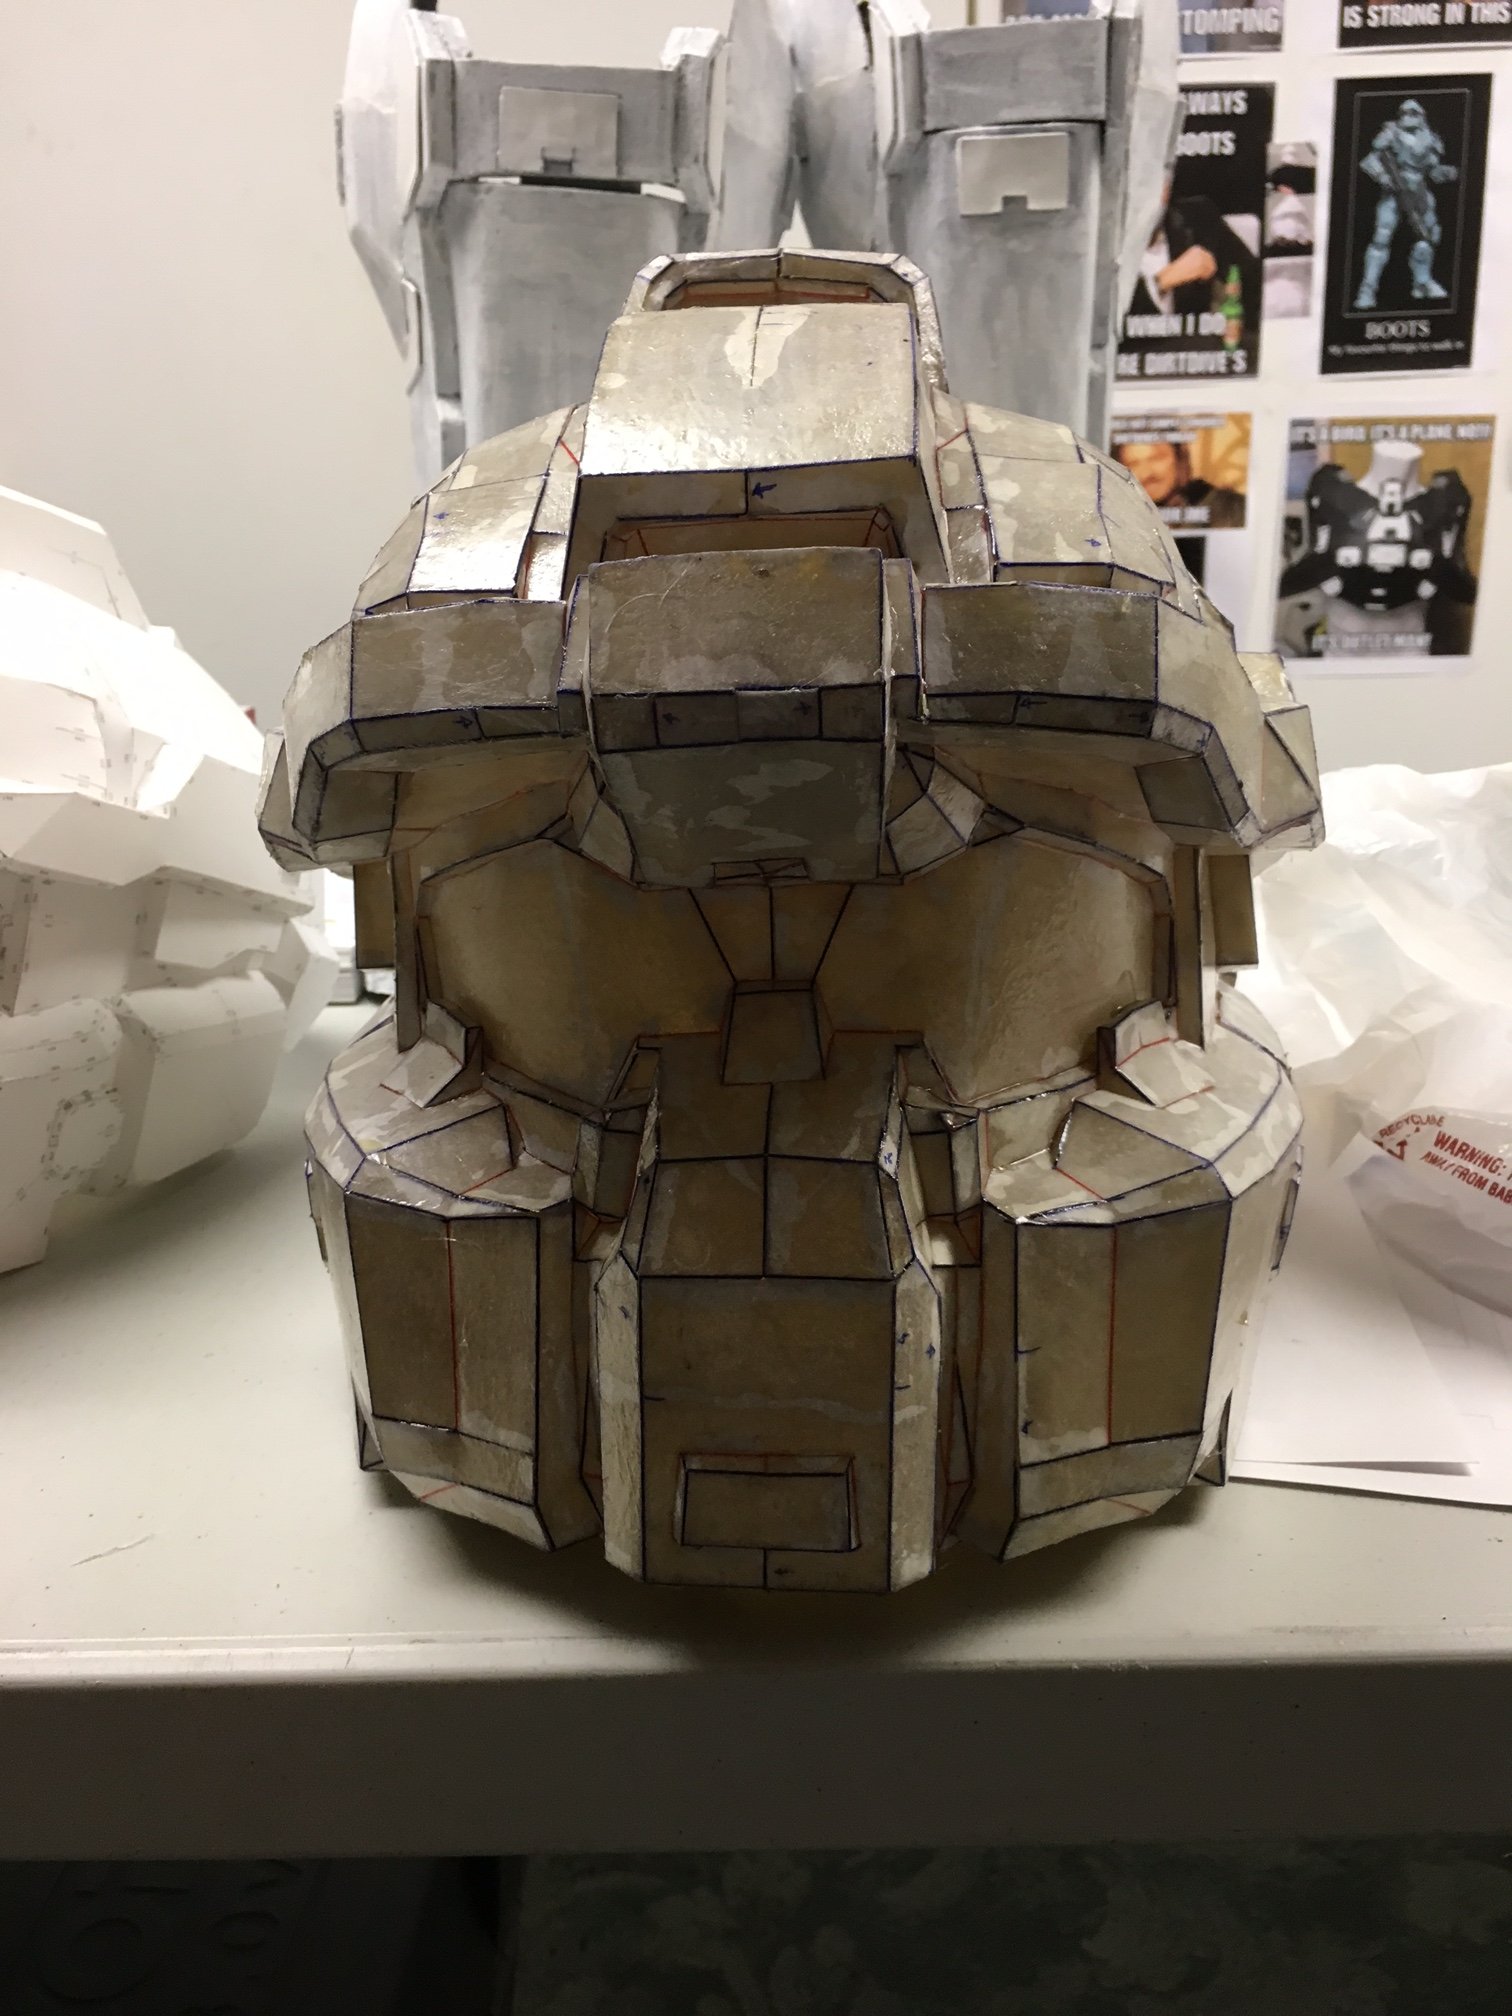
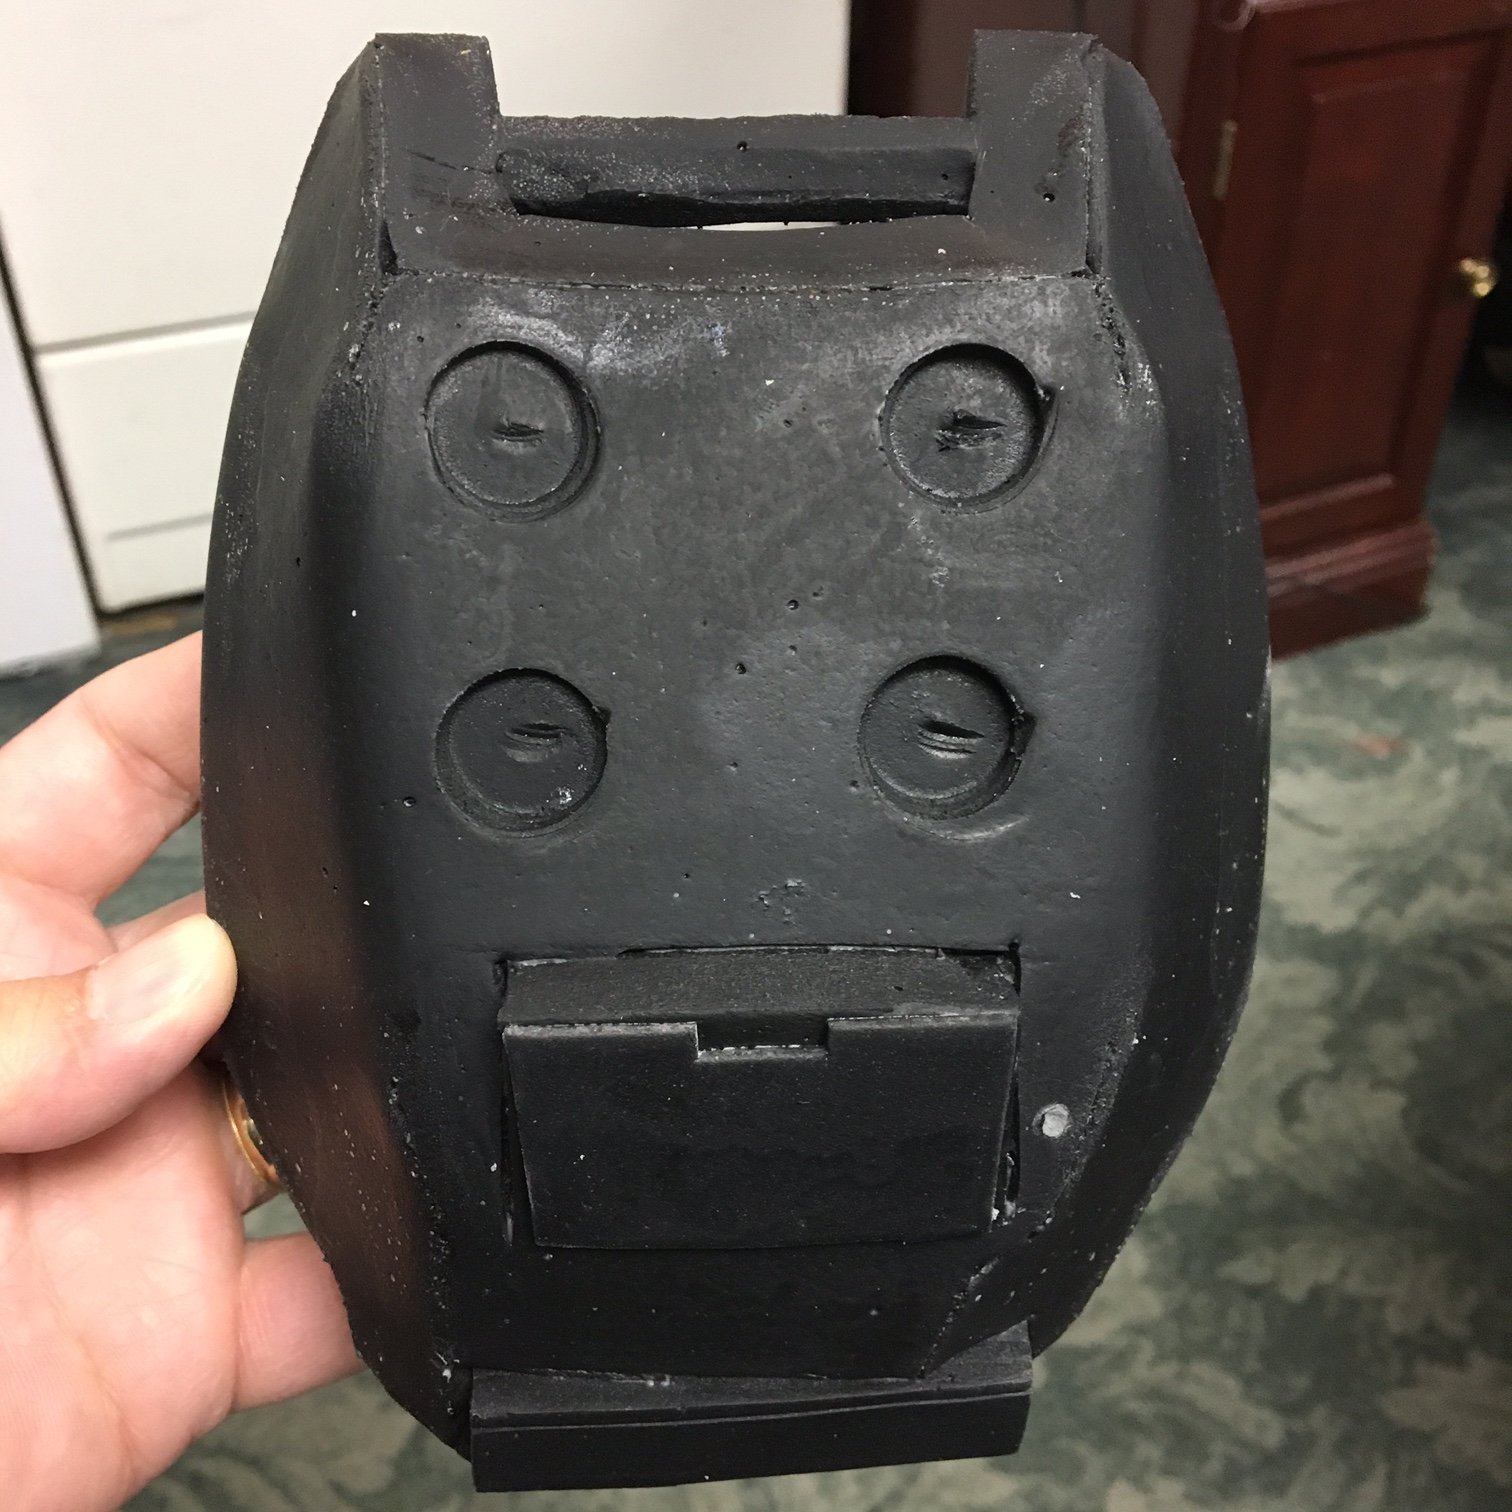
So this is one of my pieces w/ just plasta dip w/o filling the gaps. A lot of holes
A quick check of my supplies and no ready made spackle handy so let's go w/ some Duram's Water Putty
At first it looked like it was working. I was going to sand it down and then 50/50 them.
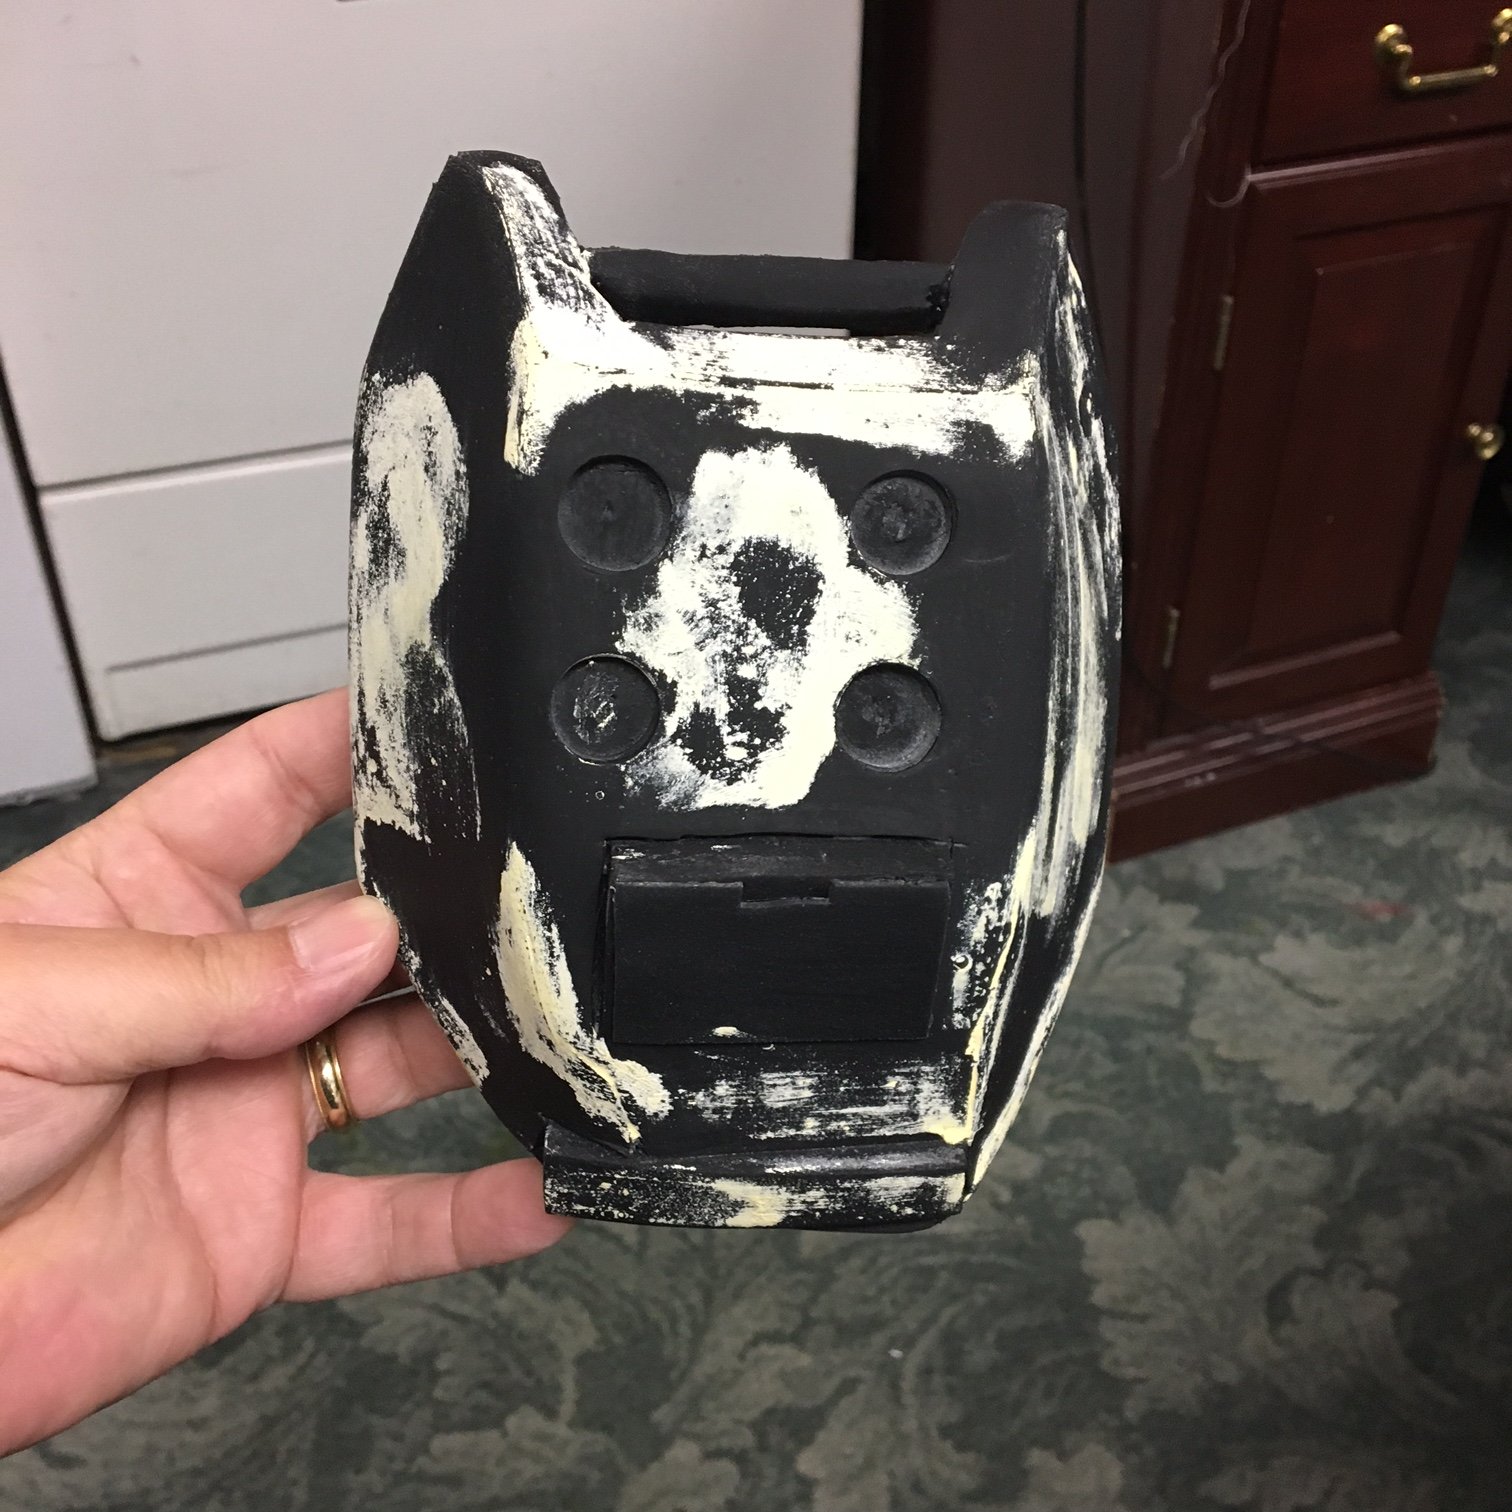
But as I sanded it down, everything pulled out again. It must be the foam or that I heat sealed it first....something. Then I took 1 piece and 50/50 sealed it first BINGO!!!!
That was the order: 50/50, spackel, sand, then another coat of 50/50. Smoth as silk. the Duram's held beautifully. Luckily I don;t have huge gaps or gaping holes to fill but I do have a lot of little ones. I think 1 more coat of either a primer or another coat of plasta dip would be in order and then I'll be ready for painting. It seams like a lot of work .....which it is, but the end result should be a nice smooth piece.
Didn't get a chance to update on Friday....had family emergency to deal with
Update:
My usual method of filling gaps is to use paintable caulk and then seal up the piece. For some reason after I did that, the caulk started to pull away and I was able to peel away adn everything too easily. Even the holes and gaps. everything was falling out. And I had a lot of these little divots to fill (Bad batch of foam pads). I don't usually seal a piece before I fill it but I had to try something....I used mawrTRON 50/50 sealant method but this made the caulk stick even less so again change of tactics. I have heard of people using Spackle to fill the gaps but never tried thinking that it would be too brittle for foam.
OK so lets look as the progression of my insanity....
So this is one of my pieces w/ just plasta dip w/o filling the gaps. A lot of holes
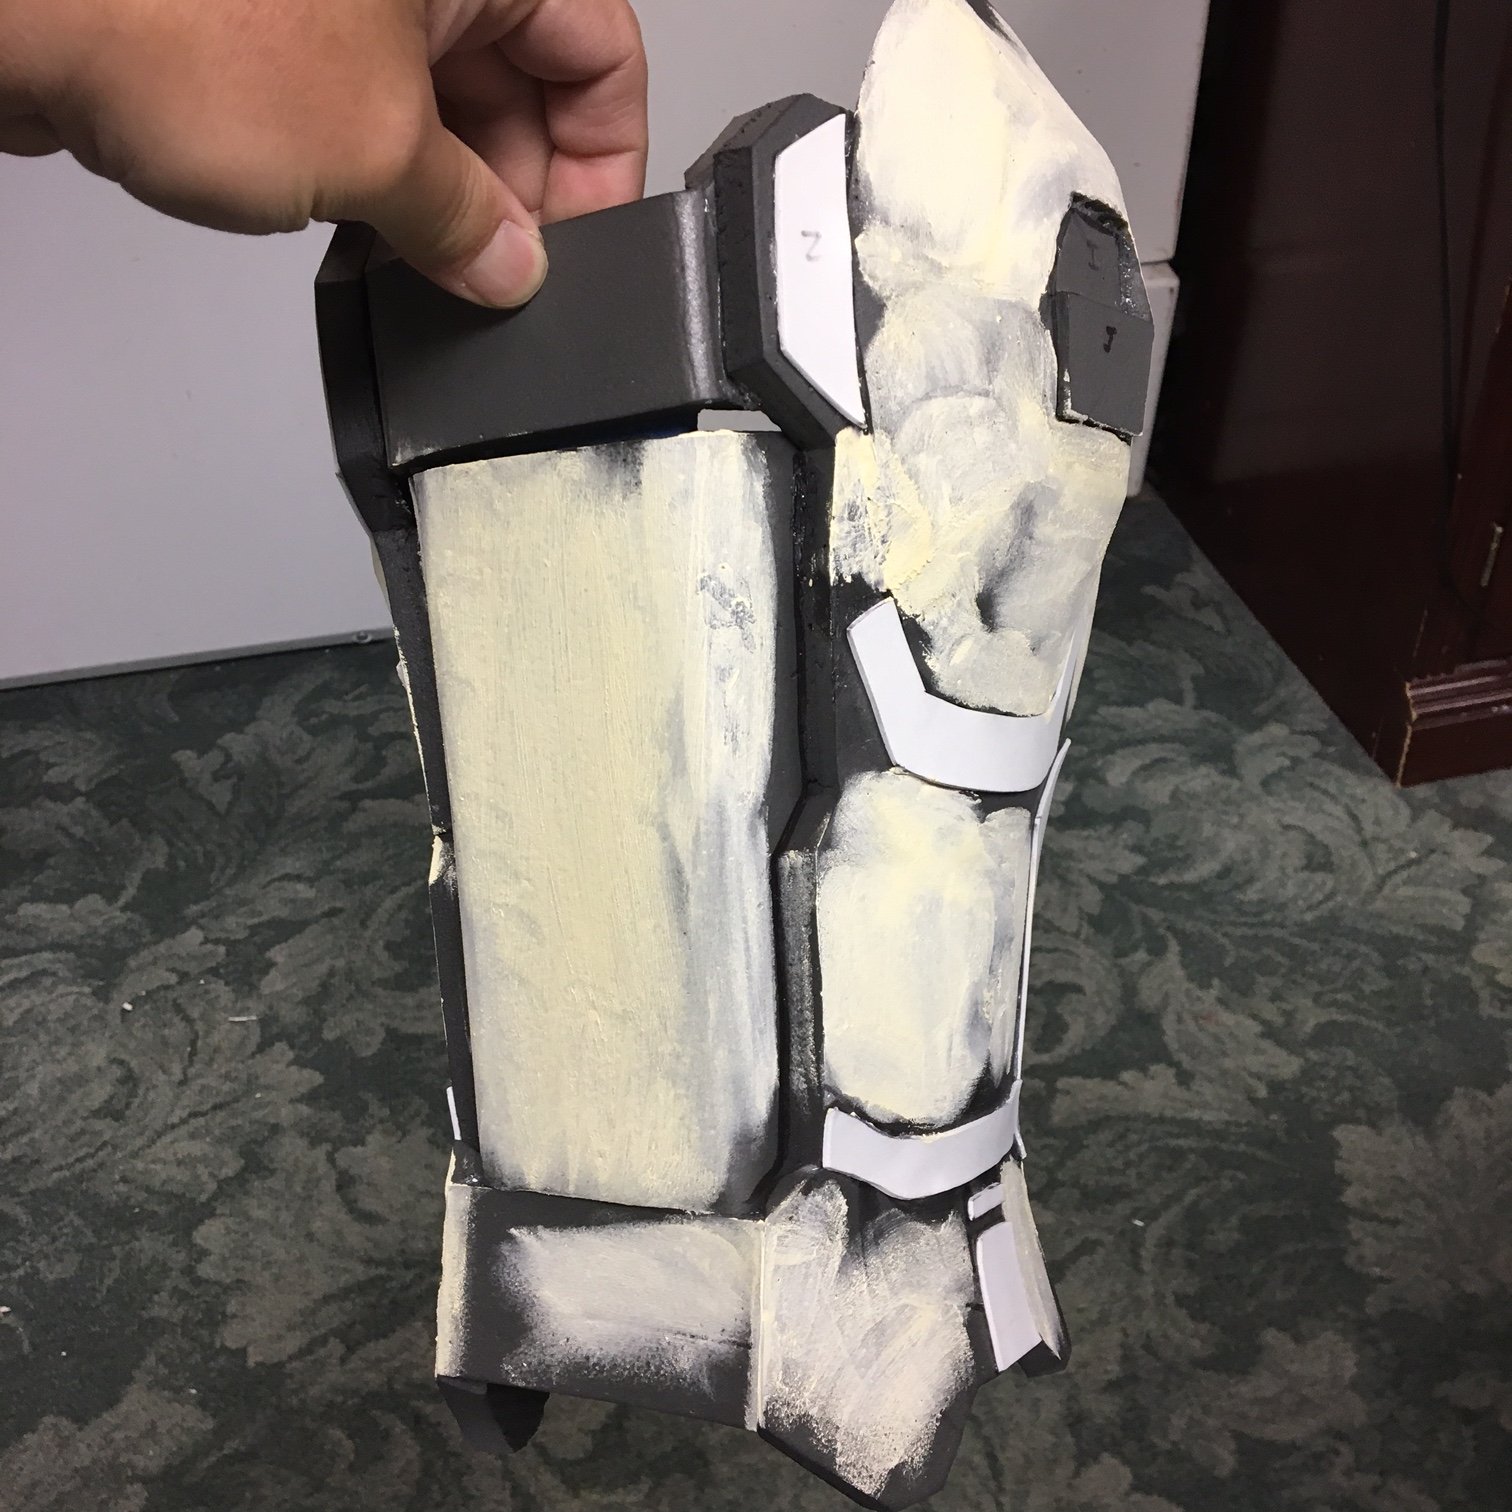
A quick check of my supplies and no ready made spackle handy so let's go w/ some Duram's Water Putty
At first it looked like it was working. I was going to sand it down and then 50/50 them.
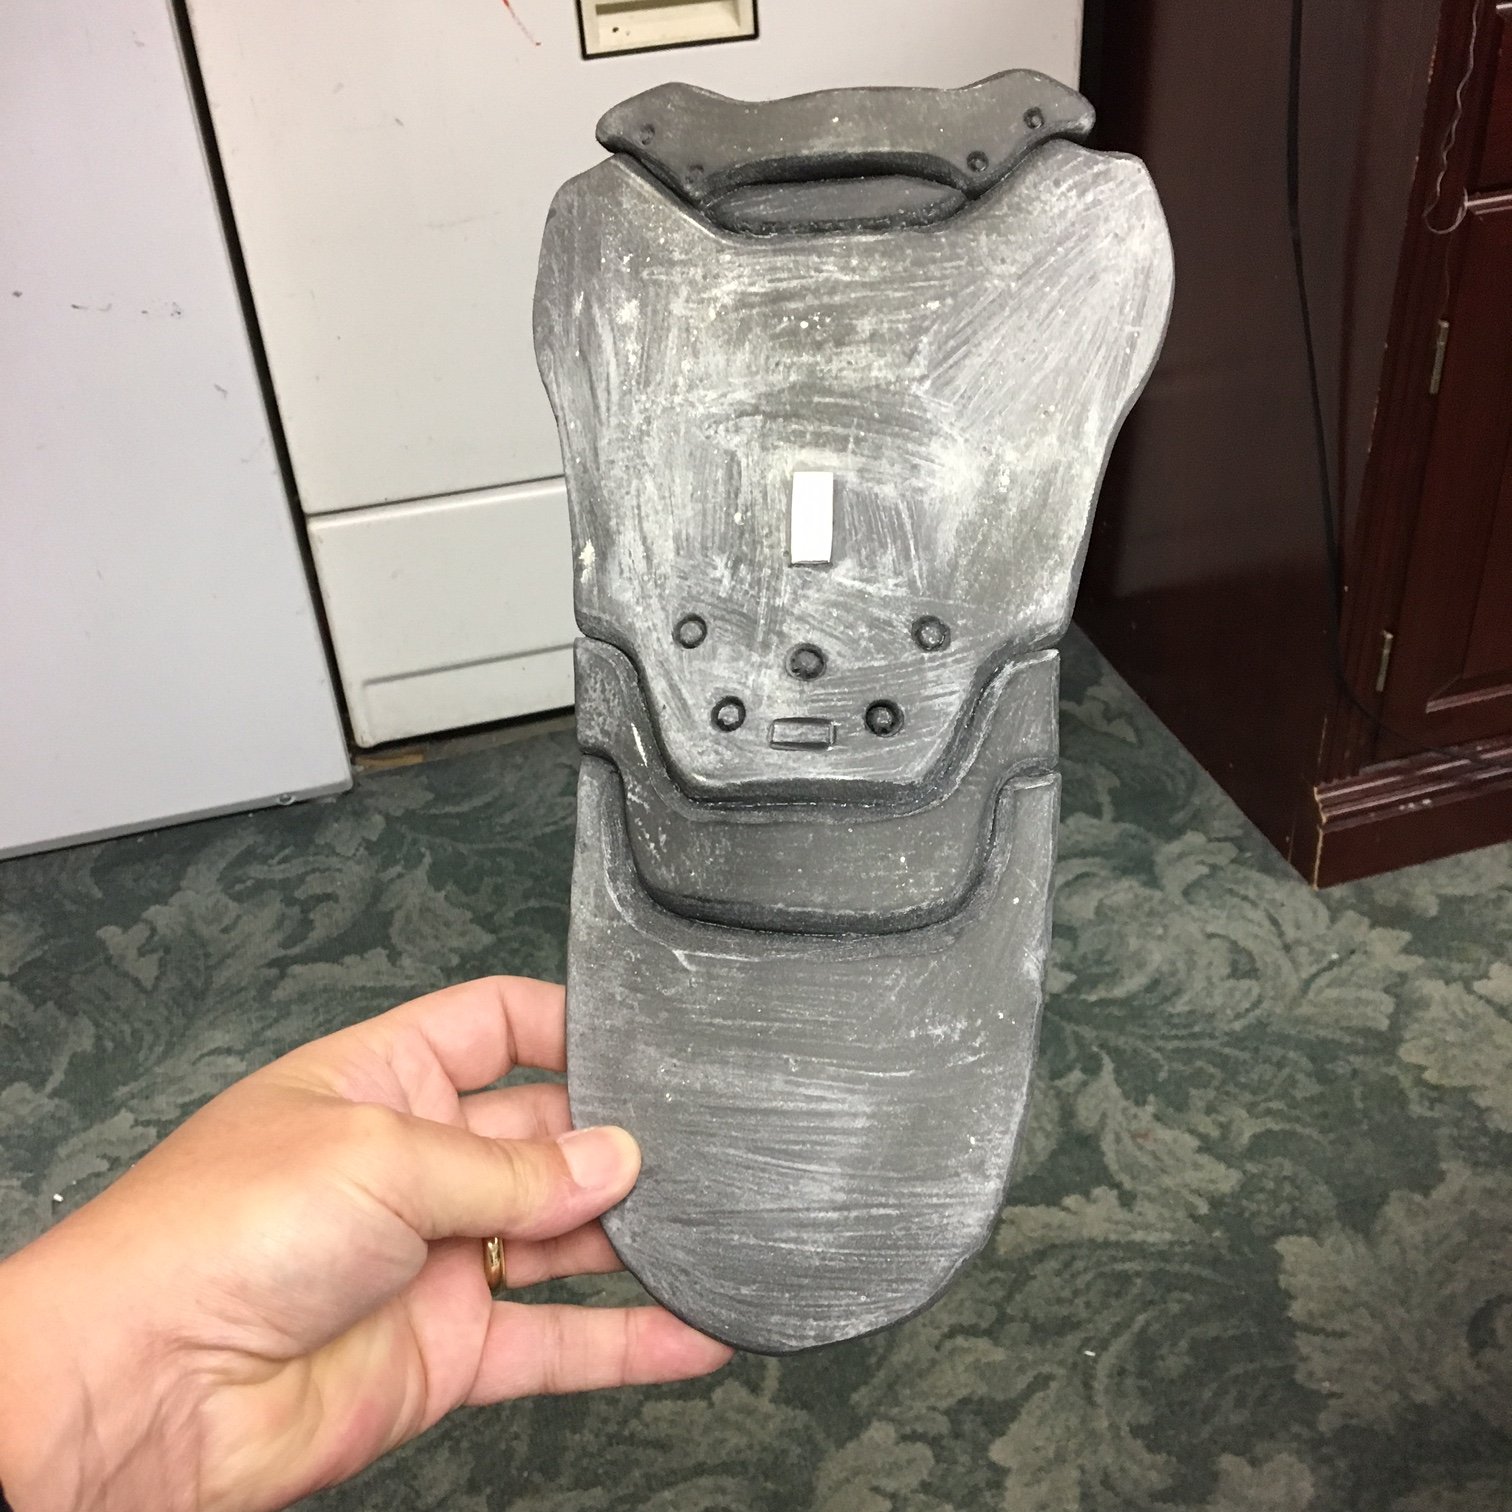
But as I sanded it down, everything pulled out again. It must be the foam or that I heat sealed it first....something. Then I took 1 piece and 50/50 sealed it first BINGO!!!!
That was the order: 50/50, spackel, sand, then another coat of 50/50. Smoth as silk. the Duram's held beautifully. Luckily I don;t have huge gaps or gaping holes to fill but I do have a lot of little ones. I think 1 more coat of either a primer or another coat of plasta dip would be in order and then I'll be ready for painting. It seams like a lot of work .....which it is, but the end result should be a nice smooth piece.