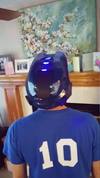
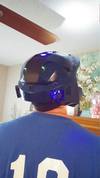
All,
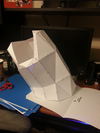
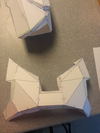
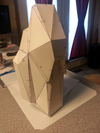
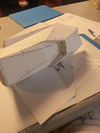
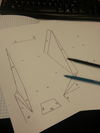
I originally started this thread under a different topic. As I was starting my build I had questions about the visor for my helmet so that is where this started. But the progress of this build really has nothing to do with the visor specifically so I am moving the thread here. I will post pictures tonight of my progress:
I say Mark V Hybrid Armor just because when it is all said and done between bondo and whatnot , I will have slightly customized some of the armor to my own liking. The helmet I am building is not the original helmet that was with the set in the pep files. I for-whatever-reason could not get that helmet scaled right and I got tired of building it (4 times) so I moved on to try something else and kind of refresh my mind so I didn't get burnt out. Also, I think I might do the Mark VI shins and boots. I just dont like how simple the Mark V shins and boots are, but we will see. This is starting to turn into a Mark VI suit.
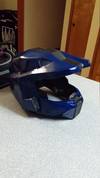
I am doing this build all from pepakura and I will be fiberglassing then bondoing then fishing it up with hydrographics. I am going to go with a new dark metallic blue and black carbon fiber hydrographic paint job. I am not going to do the weathered look, I think the weathered looks has been over done and I would like to see the armor in its brand new state. But, like I said that's my own opinion.
My current progress:
Armor:
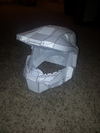
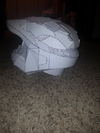
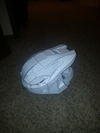
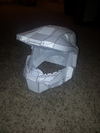
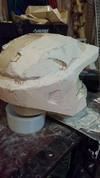
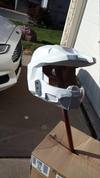
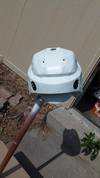
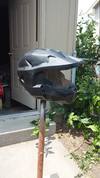
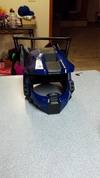
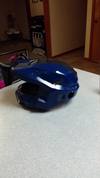
Helmet: !00% pep'd and next is resin, 6th attempt on new helm, this time a Mark VI helmet by DF4L >>>> http://search.4shared.com/postDownload/MGLvbiQP/MJOLNIR_MkVI__MKVI_HD_HELM_DF4.html
Chest: Fiberglassed ---- But thinking about redoing this piece altogether
Backpack: Pep'd
Left Bicep: Fiberglassed
Right Bicep: Traced and cut-out
Left Forearm: Pep'd ---- going to fiberglass in a phone case and cut piece for mobility
Right Forearm: Pep'd ----- needs to be cut for mobility
Abs: Traced and cut-out
Cod Piece: Traced and cut-out
Left Thigh: 1st coat of resin
Right Thigh: Traced and cut-out
Left Shin: Pep'd ... Mark VI
Right Shin: Traced and cut-out .... Mark VI
Left Boot: Pep'd .... Starting over and doing Mark VI
Right Boot: Traced and cut-out ..... Starting over an doing Mark VI
Weapon:
Battle Rifle: Traced and cut-out
Extras:
Would like to get a hold of some sort of 405th sticker to put on the armor before the clearcoat goes on during the hydrographics process
Will add LED's to the armor
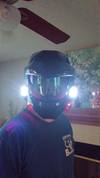
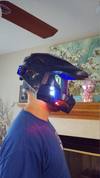
Custom visor and liner to helmet
Add padding to armor
Add a phone holder on my left forearm so I can use a bluetooth earpiece in my helmet and not have to have my phone in my pocket while wearing the suit
Cut part of the forearms out to increase mobility
My next project:
Stainless steel version of the same armor (Have all the appropriate equipment and supplies, just need the correct "blue-prints"

