"You're still not done yet?" That is the question I get from all of my friends when they find out I'm still working on my armor.
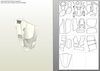
I have been a member of the forums for quite a while now, and have been working on my MK VI armor since I first joined (2009). It has not been steady work due to various reasons, but I never let the desire for my own suit die. I am currently on my third attempt at this. This is the detailed version of my build so far. If you don’t want to read this book then feel free to read the picture captions. They should give you a good idea of the steps taken during my build thus far.
The first build I started went well at first. In the end, I had to quit that build due to a lack of funding. When I finally came back to that build (about a year later) I realized a lot of things were wrong with my scaling. I decided to start over, but I did keep my failed pieces as reference material.
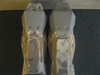
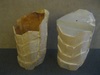
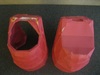
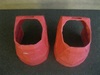
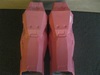
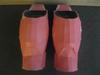
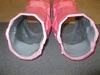
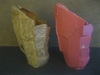
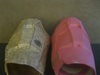
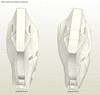
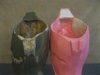
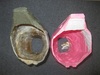
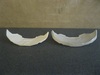
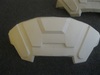
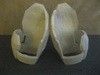
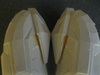
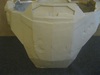
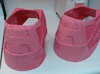
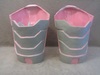
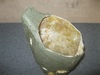
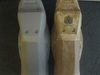
The size of the boot was alright, but I was unhappy with how it came out.

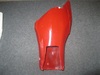
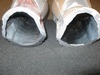
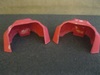
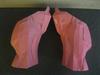
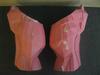
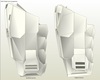
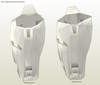
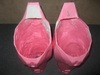
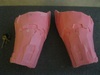
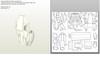
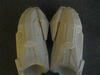
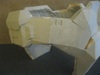
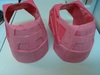
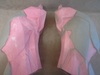
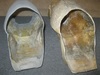
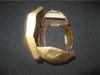
The forearm was too big.


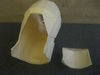
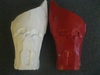
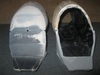
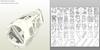
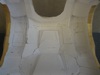
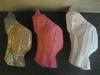
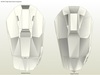
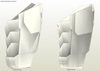
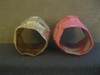
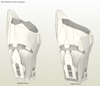
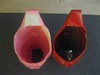
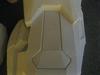
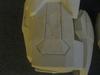
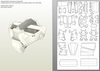
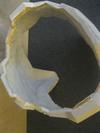
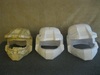
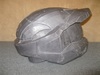
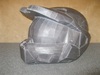
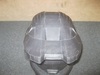
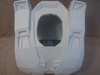
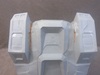
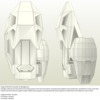
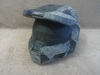
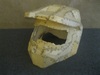
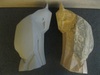
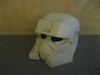
This is the helmet I used as a test for myself. It was the very first Pepakura model I ever built. I did build a HD helmet after this, but it got thrown away. It was too big.

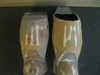
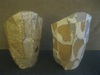
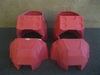
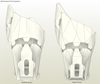
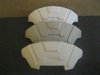
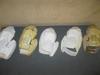
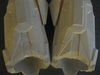
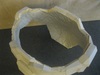
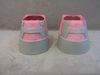
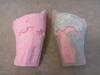
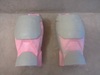
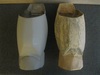
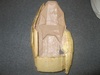
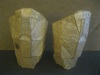
The shins came out okay, but they were way too big.


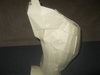
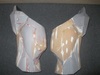
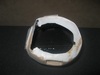
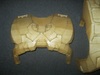
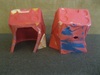
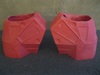
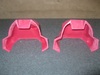
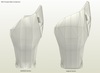
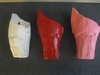
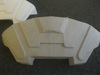
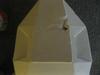
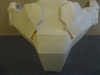
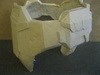
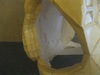
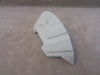
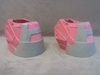
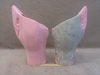
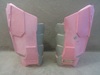
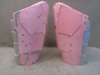
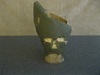
The shoulder turned out horrible. This was my first attempt at using rondo, and it did not go so well. The part was warped badly. The scale for this part was also too small.


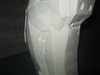
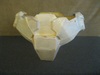
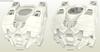
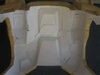
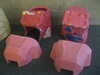
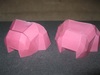
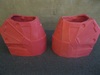
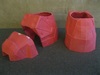
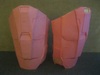
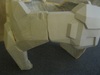
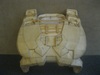
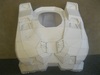
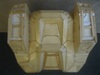
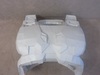
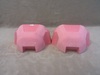
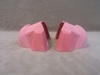
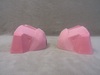
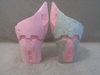
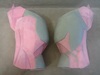
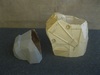
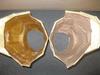
The thighs came out alright. I could have made them work, but I decided to scrap them as well since I was restarting on everything else. These were a bit heavier than they should have been, and I felt I could have avoided some of the warping that occurred on the bottom openings.


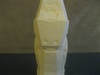
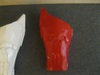
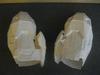
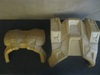
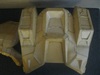
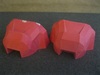
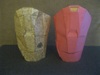
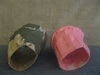
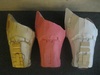
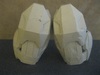
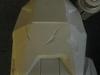
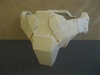
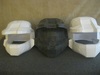
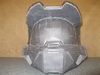
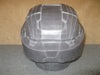
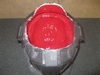
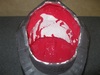
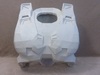
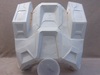
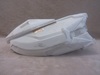
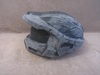
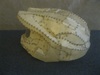
I also started work on this EOD helmet. This was my second attempt at the rondo method. It came out much better, but it was a bit too heavy. I decided to scrap this as well.

After realizing my first build was not up to par I decided to use a different method for creating my armor. The reason I changed my method of construction was due to the fact that I moved into an apartment, and I found out through my first attempt that I disliked fiberglass.
I have been a member of the forums for quite a while now, and have been working on my MK VI armor since I first joined (2009). It has not been steady work due to various reasons, but I never let the desire for my own suit die. I am currently on my third attempt at this. This is the detailed version of my build so far. If you don’t want to read this book then feel free to read the picture captions. They should give you a good idea of the steps taken during my build thus far.
The first build I started went well at first. In the end, I had to quit that build due to a lack of funding. When I finally came back to that build (about a year later) I realized a lot of things were wrong with my scaling. I decided to start over, but I did keep my failed pieces as reference material.
The size of the boot was alright, but I was unhappy with how it came out.

The forearm was too big.


This is the helmet I used as a test for myself. It was the very first Pepakura model I ever built. I did build a HD helmet after this, but it got thrown away. It was too big.


The shins came out okay, but they were way too big.


The shoulder turned out horrible. This was my first attempt at using rondo, and it did not go so well. The part was warped badly. The scale for this part was also too small.


The thighs came out alright. I could have made them work, but I decided to scrap them as well since I was restarting on everything else. These were a bit heavier than they should have been, and I felt I could have avoided some of the warping that occurred on the bottom openings.


I also started work on this EOD helmet. This was my second attempt at the rondo method. It came out much better, but it was a bit too heavy. I decided to scrap this as well.

After realizing my first build was not up to par I decided to use a different method for creating my armor. The reason I changed my method of construction was due to the fact that I moved into an apartment, and I found out through my first attempt that I disliked fiberglass.
Attachments
-
 Boot_1_zpsbcb67c1c.jpg163 KB · Views: 368
 -
 Forearm_1_zpse6403357.jpg150.2 KB · Views: 364
 -
 Forearm_2_zpse61186a1.jpg151.1 KB · Views: 346
 -
 Helmet_1_zpsc8c7563f.jpg153.8 KB · Views: 346
 -
 Helmet_2_zpse248def5.jpg157.3 KB · Views: 342
 -
 Shin_3_zps3ef55c23.jpg172.2 KB · Views: 347
 -
 Shin_2_zpsc787cfca.jpg160.6 KB · Views: 338
 -
 Shin_1_zps50e5a211.jpg164.3 KB · Views: 323
 -
 Shin_4_zpsd374d630.jpg200 KB · Views: 335
 -
 Shoulder_1_zpse8cc7664.jpg138.6 KB · Views: 350
 -
 Shoulder_2_zps9dab18fd.jpg186.4 KB · Views: 353
 -
 Shoulder_3_zps8b9ffed3.jpg146.3 KB · Views: 322
 -
 Thigh_3_zpsd7b3f803.jpg170.5 KB · Views: 346
 -
 Thigh_2_zps17f7ffcd.jpg64 KB · Views: 329
 -
 x_Old_EOD_zps721b3b29.jpg154.2 KB · Views: 351