- Member DIN
- S310
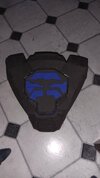
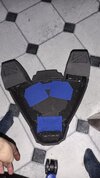
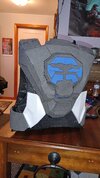
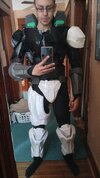
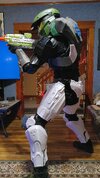
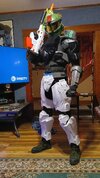
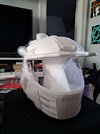
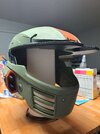
Alright! Thought I'd start a build log here as I'm working on repairing/upgrading my MK IV armor. I've got a custom set, mostly 3d printed some foam and I'll be going over my processes for how I made it.
Some unique notes of my armor:
1. Integrated Alexa unit
2. Opening chest plate
3. Electronic antenna (coming soon)
4. Impact tough
I usually 3d print most of my plates, and I've been dialing in my settings. The printer always seems to work the best when I'm printing someone else's stuff and messes up on my own lol but we are getting there. I'll attach a couple glamor shots to this first post and then I'll break down the armor as I go!