Hello all, this is my first post here on the forums been lurking for a month or so so i decided to show my first-ish project. I started out on a helmet but kept getting the sizing wrong so i put it on the back burner for now and i challenge myself with a weapon first. So I decided so go with L3X's Halo Reach Sniper rifle. I so far have finished peping the barrels and receiver and holy cow its huge, what have i gotten myself into lol.
Here are a few pics of my progress so far, hope you enjoy them")
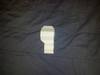
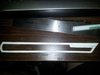
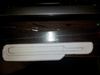
Receiver and clip

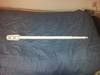
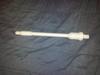
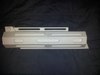
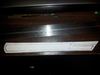
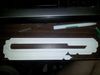
Barrels and stuff


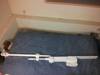
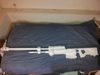
It together so far...

It spans the length of my bed already!
anyway that's it so far. Any comments, critiques, questions, or tips are most welcome
Here are a few pics of my progress so far, hope you enjoy them
Receiver and clip

Barrels and stuff


It together so far...

It spans the length of my bed already!
anyway that's it so far. Any comments, critiques, questions, or tips are most welcome