- Member DIN
- S829
Ok - so anyone on Discord will have seen all of this, but I figured it would be good to make a forum post with more details + images.
For quite some time I have loved the Commando helmet from Halo Reach. Something about the helmet has always drawn me in and I've really wanted to make one.

I don't quite trust my ability with pep or foam so I tried to search out buying a casting in the past.
Fast Forward to this August this year and our friendly TurboCharizard hits me up with this message:

He was modeling one as a surprise and let me in on the secret.
Jump forward a few more days and I get another message with a present attached

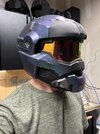
I immediately decided that I needed to print it and make this my second finished helmet

This was a fun project to print and even after hundreds of days of printer time I learned some nifty new things. (mainly how to use less supports) After a few days of printer time (and my longest ever single print) I was ready to move on
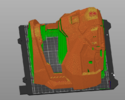
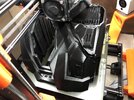
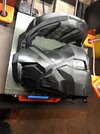
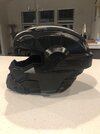
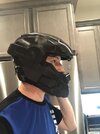
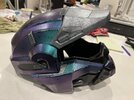
As I was printing this helmet I decided to further Emulate TurboCharizard and some of his amazing recent paint jobs. I figured that this was not going to be part of a full armor set, so why not go a bit crazy and do something unique. This lead me down the path of looking into some Turbo Dork Color Shift paints.

I stopped by my LGS and picked these up (on sale too!)
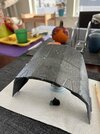
Since this was also going to be my first finished 3D printed helmet I wanted to push myself and try some new things. Following guidance of numerous others here I went down the path of fiber glassing the inside and even using magnets to attach the neck plate on the back.
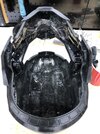
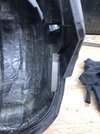
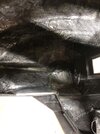
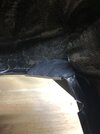
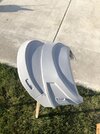
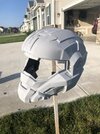
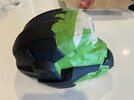
Now - onto the fun of Primer / Sanding / Filling fun
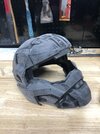
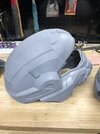
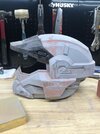
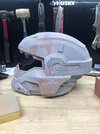
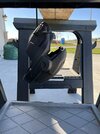
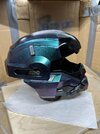
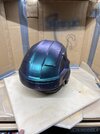
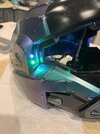
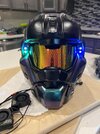
Finally onto actual painting. I also tried something new with the weathering.
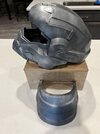
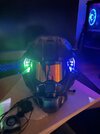
From there it was on to lights
For quite some time I have loved the Commando helmet from Halo Reach. Something about the helmet has always drawn me in and I've really wanted to make one.
I don't quite trust my ability with pep or foam so I tried to search out buying a casting in the past.
Fast Forward to this August this year and our friendly TurboCharizard hits me up with this message:
He was modeling one as a surprise and let me in on the secret.
Jump forward a few more days and I get another message with a present attached
I immediately decided that I needed to print it and make this my second finished helmet
This was a fun project to print and even after hundreds of days of printer time I learned some nifty new things. (mainly how to use less supports) After a few days of printer time (and my longest ever single print) I was ready to move on


As I was printing this helmet I decided to further Emulate TurboCharizard and some of his amazing recent paint jobs. I figured that this was not going to be part of a full armor set, so why not go a bit crazy and do something unique. This lead me down the path of looking into some Turbo Dork Color Shift paints.
I stopped by my LGS and picked these up (on sale too!)
Since this was also going to be my first finished 3D printed helmet I wanted to push myself and try some new things. Following guidance of numerous others here I went down the path of fiber glassing the inside and even using magnets to attach the neck plate on the back.


Now - onto the fun of Primer / Sanding / Filling fun


Finally onto actual painting. I also tried something new with the weathering.


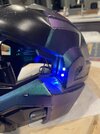
From there it was on to lights


