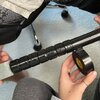
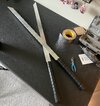
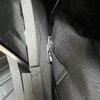
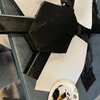
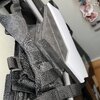
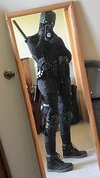
I just recently went to a con as dark tactical deadpool, but I had to make katanas. What’s deadpool without them? Anyway! I documented the process as best as I could so I could share in case anyone else could benefit from this. We did this in the span of just a couple days.
Materials Used:
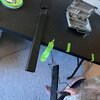
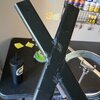
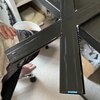
- Plastic trunking that hides electrical wires
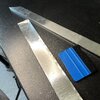
- Wooden yardsticks
- PVC pipes
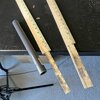
- Silver heat tape
- Black electrical tape
- 10mm and 6mm foam
- Black acrylic paint
Materials Used:
- Plastic trunking that hides electrical wires
- Wooden yardsticks
- PVC pipes
- Silver heat tape
- Black electrical tape
- 10mm and 6mm foam
- Black acrylic paint

")