Just started a week ago, haven't printed anything halo yet, but I was considering getting an Ender 3 but after that, then what? I do have the Mark IIV Spartan chosen, I know about armorsmith, but how would I do a good paint job and sanding job? I kind of know about the visor stuff, but how do you make it look like an actual visor? stuff like that. Please explain the 101.
As Cadet mentioned, the tutorial section is terrific for detailed work on those questions.
As far as a quick response goes, the desired outcome you want will affect what you need to do to achieve it.
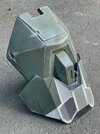
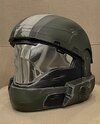
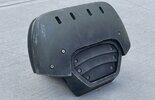
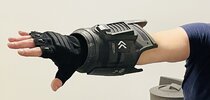
For instance, if you want an extra-clean, spotless surface to the armor that's glossy, you'll want to do extra sanding at higher grits (and even wet sanding). If you want something that's going to be heavily weathered, such as the armor I made below, I never went above 120 grit, and never wet sanded.


This is the exact pipeline I did for every piece:
- 3D print
- Sand 60-80 grit
- Bondo (if necessary | for deeper issues that aren't typical layer lines)
- Sand 60-80 grit until bondo layer is even with the rest of the armor piece
- Filler Primer (usually 1 coat)
- Sand with 120 grit until everything's even and smooth
- Primer paint coat
- Metallic Coat
- (if neccessary) latex splattering/edging that will be peeled off after main colors to reveal metallic undercoat (I apply this by dipping a rough/semi-loose ball of masking tape edge into the latex, then striking the armor to create realistic scratches)
- Base Color coat
- Secondary color (if applicable)
- Tertiary color (if applicable)
- Remove latex if applied
- Weathering using metal files and wire brushes
- Weathering using an airbrush to create shadows/depth with matte-black paint
- Weather with a brown/black mixture wash (which is mostly whipped off after to create stains and "dirt")
- Apply decals (if applicable)
- Clearcoat protective paint layer (I used matte, but many use satin or even gloss, depending on the desired look)
- Add padding/straps/connecting points
- Apply visor (if applicable)
And then it's done!


