I've found a process that works for me when working w/ foam, but it may be overkill for some or not enough for others. Experiment and figure out what works for you. After scaling I print all of the templates. Forearm for example was probably around 7 or 8 pages for my final scale. Before I ever cut out all of my parts I do a pass while looking at the file in Pepakura Designer and add any notes I think I may need such as bevel directions, towards whatever joint (elbow, wrist, etc.), part gets traced twice and mirrored; you get the idea.
View attachment 348674 View attachment 348675
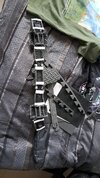
After cutting I store all parts in zipper bags to keep them together. While tracing onto foam every item gets marked with L or R for Left or Right part (if applicable), bevel directions (if applicable).
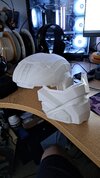
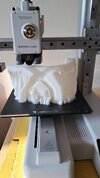
You can see in these examples an idea of some of the markings I'll transfer to the foam itself. Couldn't find any photos pre-cutting parts out.
View attachment 348676 View attachment 348677
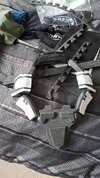
I tend to keep all cut out parts in a box and create a sort of assembly line of construction when I build. Apply contact cement to each part/edge getting glued, let them dry. Assemble. Always have the part file open in Pepakura Designer on a screen that I can reference while building. Makes it a lot easier to double check you're putting together the right things.
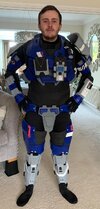
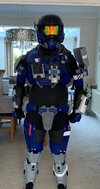
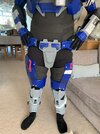
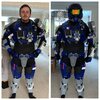
While working on my first Mk VII my workspace basically looked like this using an old projector to throw the model up on the wall for myself.
View attachment 348678


")