Part 5!
Thanks for keeping with it!
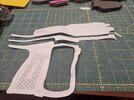
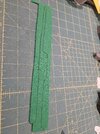
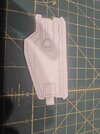
Lets Cut and Assemble the Magnum Shroud. [Ref Magnum Shroud 1 - Magnum Shroud Final Assembly 4]
Step 1:
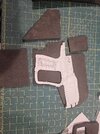
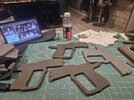
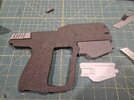
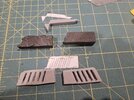
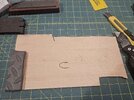
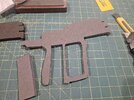
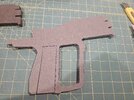
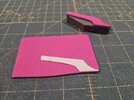
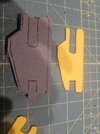
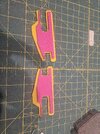
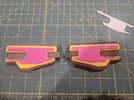
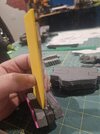
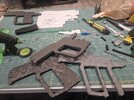
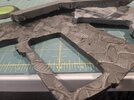
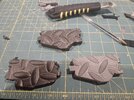
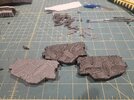
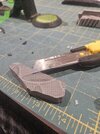
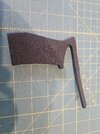
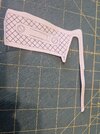
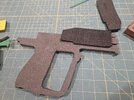
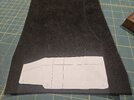
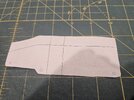
Free the Shroud portion of the template from the main, stencil this on the high density black foam [Ref Magnum Shroud 1 & 2] cut 2 bucks[Ref Magnum Shroud 3], if using 8mm textured foam reverse and sand/cut texture from back before final assembly.
Step 2:
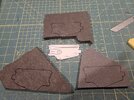
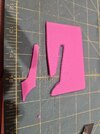
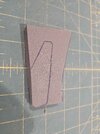
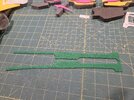
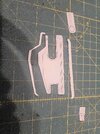
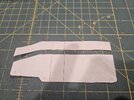
Separate the top portion of the stencil from the main [Ref Magnum Shroud 5]. Then Stencil new line on both Bucks [Ref Magnum Shroud 6] this line will inform us on how to bevel the shroud bucks on final assembly.
Step 3:
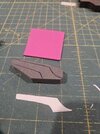
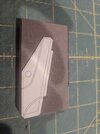
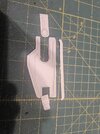
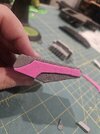
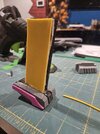
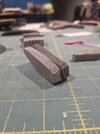
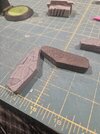
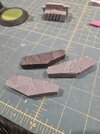
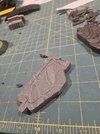
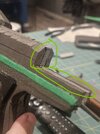
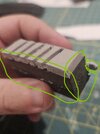
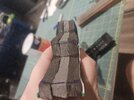
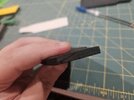
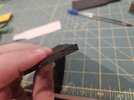
We need to bevel our Bucks. From step two carry the line from step two to the bottom opposite corner [Ref Magnum Shroud 7 & 8] now, using a very sharp, or re sharpened blade follow that angle that we stenciled, take your time. Your blade should be connecting the top line to the bottom corner as you slice. your final result will be [Magnum Shroud 9]
Step 4:
Time to attach the disparate pieces

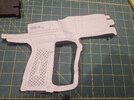
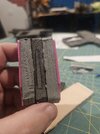
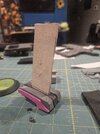
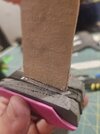
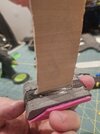
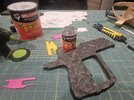
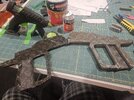
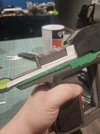
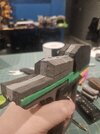
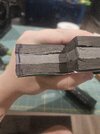
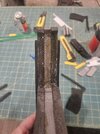
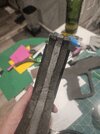
. Using your glue source, contact cement or Hot glue, glue both sides and attach [Ref Magnum Shroud Final Assembly 1 & 3] if using contact cement, apply thin layers of glue and allow to dry to tackiness (will Vary based on brand and formulation). Once desired consistency is achieved take your time to pressure fit and place. final result is Final Assembly 4!
Great Job Spartans/Marines lets keep rocking on to the next assembly
----------------------------------------------------------------------------------------------------------------------------------------------------------------
You got a sneak peek in the above section but lets glue and attach our Magnum Jaw to the 3 layer buck!
Step 1:
Gather your Jaw section with detail siding attached and your 3 layer magnum buck.
Step 2:
[Ref Attaching the Jaw 1 - 7].
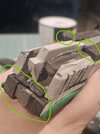
Apply Glue to the circled and shown sections in pictures [Attaching Jaw 1 - 5].
Step 3:
Allow your pieces to dry then pressure fit and place. Final result in pictures [Ref Attaching the Jaw 6 - 7]
Excellent! Try not to pretend to shoot hostiles and be exceptionally proud of yourself. Next assembly!
----------------------------------------------------------------------------------------------------------------------------------------------------------------It may not have escaped your attention that we are missing our back slide of the magnum. Time to rectify this.
Step 1:
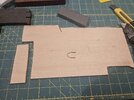
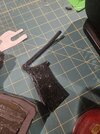
for my magnum build (Yours will/may vary) I have some excess foam in places. Physically place the slide piece on the empty space in the back and stencil the shape of the piece against the excess foam. [Ref Stencil Magnum Slide, and Mark Trim Points on Magnum 1, and 2] The circled sections denote where
i had to trim.
Step 2:
we have some details and bevels to achieve to add some dimension and story to our magnum. [Ref Stencil Slide Detail, Bevel Slide Detail, and Stencil Score Lines]
Using similar methods on our shroud build Stencil your detail lines [Ref Stencil Detail]. In conjunction with step 1, after marking our lines with the stencil we will re-sharpen our blades and bevel down our details [Ref Bevel Slide Detail] you want to shave away enough that your outer layer bucks bevel into the inner layer. After this, you want to mark scoring lines for yourself before paint [Ref Stencil Score Lines]. once you do take a sharp blade and cut in just enough for the tip to pierce into the foam, follow your lines, take your time.
Step 3:
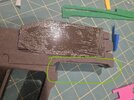
After our trimming, beveling, and scoring time to get gluing. [Ref Glue Points for Magnum Slide 1 & 2] the circled sections in the reference pictures are where you should be applying your glue. keep careful note, the "Tooth" of the magnum slide [the portion attached to the "Hammer'] needs glue as well as a small part of the top of the slide.
Step 4:
Time to Assemble. Using the skills utilized in earlier sections of this update, apply your glue and your slide is assembled!
With this section complete we have to attach our magnum siding, as well as the hand grips.
----------------------------------------------------------------------------------------------------------------------------------------------------------------For sake of brevity we will see the siding attached [Green 2mm foam] attached in the final assembly pictures attached!
Handguard Assembly!
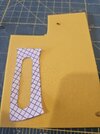
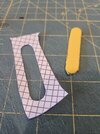
Step 1: Stencil and Transfer [Ref Handguard Stencil, & Handguard]
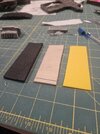
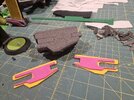
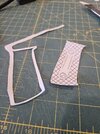
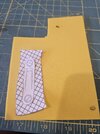
After freeing the pictured section from your main template[Ref Handguard Stencil], transfer the shape to the High Density foam and cut 2 pieces flipping 1 [Ref Handguard]
Step 2: Magplate Separation [Ref Magplate Separation]
From the inner portion of the stencil you want to free the pictured section from the handguard. we will use this to stencil out our beveling points for later sanding.
Step 3: Magplate Detail [Ref Handguard Magplate 1 & 2, and Separated Magplate]
Take the inner separated detail stencil[Handguard Magplate 1]. Process it further by removing the inner circle [Handguard Magplate 2]. Once stenciling to 2mm foam is complete, cut and release 2 magplate pieces [Separated Magplate].
Step 4:
Lets assemble. [Ref Stencil Handguard Position, Apply Glue to Handguard and Magnum]
take our pieces, and one at a time mark their position on the grip portion [Stencil Handguard Position]. After this is completed by both pieces apply glue to the handguard, and the grip [Apply Glue to Handguard and Magnum]]
--------------------------------------------------------------------------------------------------------------------------------------------------------------
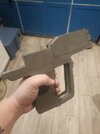
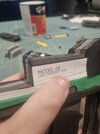
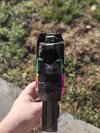
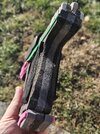
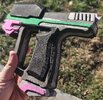
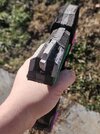
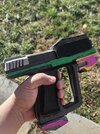
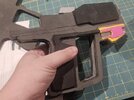
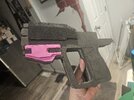
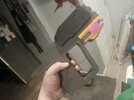
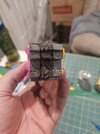
From here a lot of the following sanding and painting is on you! look at the prop you made and be proud! look at references for your own desired details and paints!!! here is the finished piece for me after sanding and in some natural light! i'll be updating once i get some hands on paint and after gap filling! Check out the Completed Assembly pictures 1-6.


