Bunty Scrungus
New Member
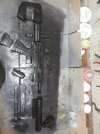
First test fits revealed some missed print lines and a few cracks that needed to be patched with bondo.
Application of bondo used to fill cracks and hide all my mistakes and shoddy print spots.
Taped off the rubber parts and resprayed a flat black to give it a black rubber look
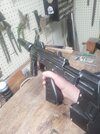
First assembly using whatever hardware I had (light screws and screws form salvaged appliances). No pics of the trigger assembly but it operates with just a pen spring behind the trigger.
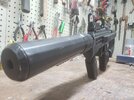
I wanted the suppressor to be removable so I added a bolt to one end of the suppressor and the nut to the inside of the barrel and drilled out the inside so it would thread though and not be seen once attached.
The bolt here is simply keeping the nut on the inside of the barrel from shifting while the glue dries
The "glass" for the inside of the sight is made from the lid of a blueberry container and some red electrical tape
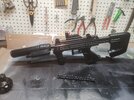
V1 of the SMG is complete! and I didn't like the color so back to sanding.
V2 first coat of paint. I much prefer this to the semi gloss black, some may disagree but I thought the shine of the old paint made it look to much like a toy, Also I couldn't weather it as well as I can now with the gray.
Added some light weathering and the red to the appropriate spots.
Final product fully weathered. I learned about using a rag and silver spray paint to rub on raised edges for a more worn look and its my new favorite way to weather fake metal.


