- Member DIN
- S229
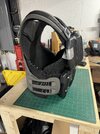
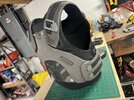
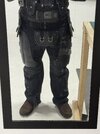
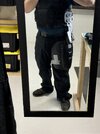
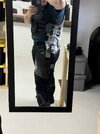
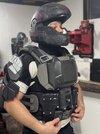
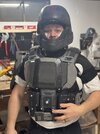
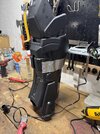
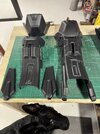
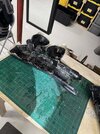
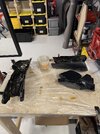
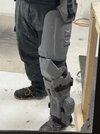
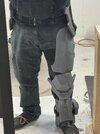
Well it's has been some years, what a decade since my Reach build. Gone from building in a craft room in my old apartment to now owning a home and having a whole shop setup in the basement. Now I'm back in the saddle with a build I've wanted to do for years. An ODST - kit from Mr. Bradley to be exact. Majority of the build is the kit but some parts are modified and or remade to suit my needs, I'm going for a nice detailed look with comfort being a major build point as having learned from a old spartan build wearing for long periods of time can be a chore and I wanted the ODST to able to be worn effortlessly to say.
Enough with the chit chat and onto the meat and potatoes build pics!
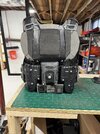
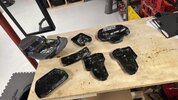
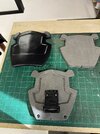
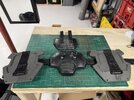
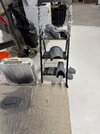
My shop setup where the magic happens

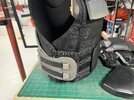
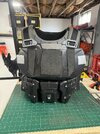
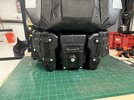
In leu comfort I decides to use a low profile combat vest as a base, plus I like the depth it adds to the suit.

Enough with the chit chat and onto the meat and potatoes build pics!
My shop setup where the magic happens
In leu comfort I decides to use a low profile combat vest as a base, plus I like the depth it adds to the suit.
Attachments
-
 image4.jpeg2.7 MB · Views: 6
 -
 image1.jpeg2.7 MB · Views: 6
 -
 image5.jpeg2.7 MB · Views: 4
 -
 image2.jpeg516.3 KB · Views: 6
 -
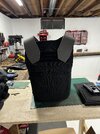 image4.jpeg2.7 MB · Views: 5
 -
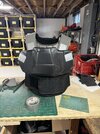 image1.jpeg2.7 MB · Views: 6
 -
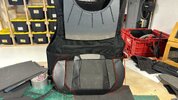 image2.jpeg516.3 KB · Views: 5
 -
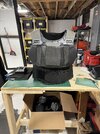 image5.jpeg2.7 MB · Views: 6
 -
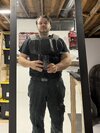 image6.jpeg1.7 MB · Views: 7
 -
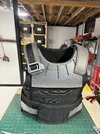 image11.jpeg3.2 MB · Views: 7
 -
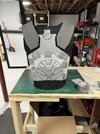 image8.jpeg2.7 MB · Views: 10
 -
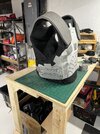 image9.jpeg2.7 MB · Views: 5
 -
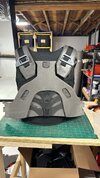 image12.jpeg545.2 KB · Views: 5
 -
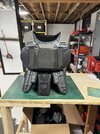 image7.jpeg2.7 MB · Views: 5