Just chiming in on the convo now. First of all, love the setup!
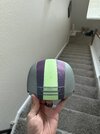
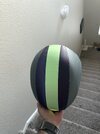
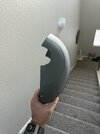
As others pointed out, PETG will be friendlier for vacuum forming. Acrylic is much more brittle and prone to cracking/shattering when removing it from the buck.
Be very careful when purchasing PETG from amazon. I have seen folks in the past purchase from amazon assuming the plastic is pure PETG, when it turns out there are other plastics mixed in. McMaster Carr is a good reliable place to purchase PETG if you can't find a cheaper alternative on amazon.
McMaster-Carr is the complete source for your plant with over 595,000 products. 98% of products ordered ship from stock and deliver same or next day.

www.mcmaster.com
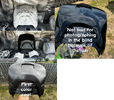
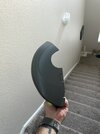
Since you may have to wait a minute for the new plastic to arrive, I'd also suggest giving your buck one last round of filler and sanding. I can see a few layer-line-like bumps near the sides of your acrylic pull that may make it harder to see out of.
")