- Member DIN
- S286
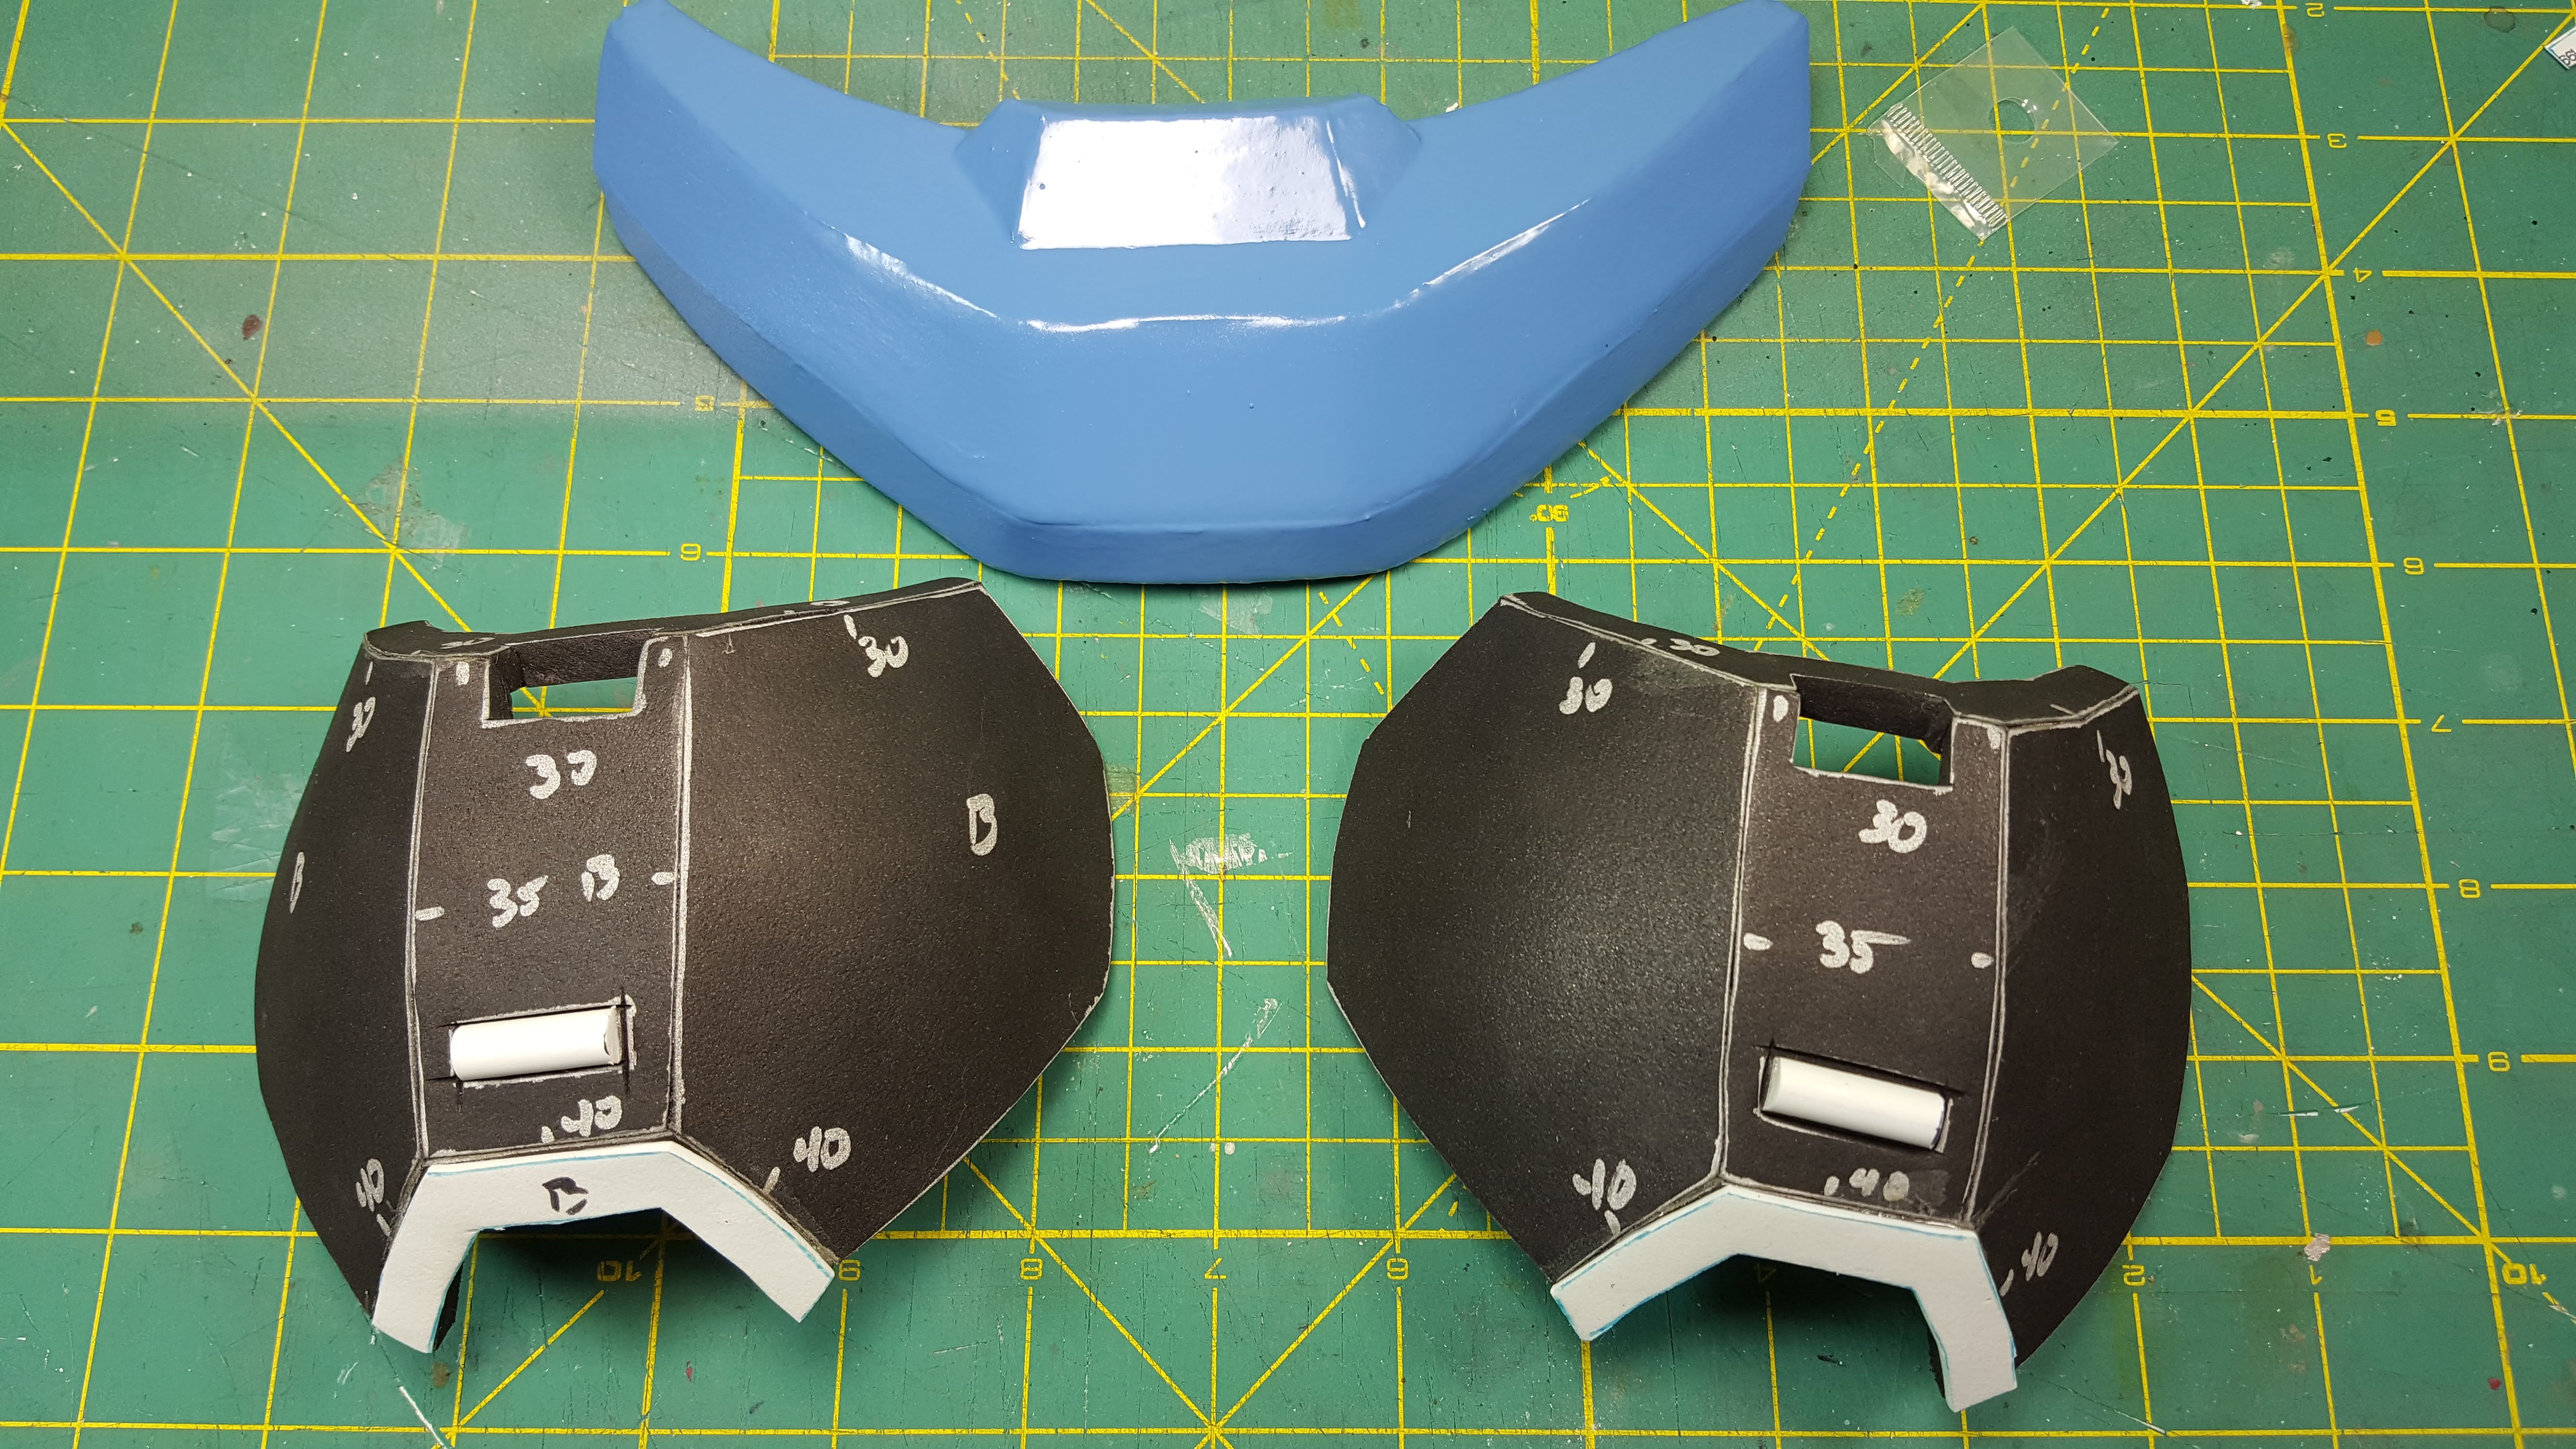
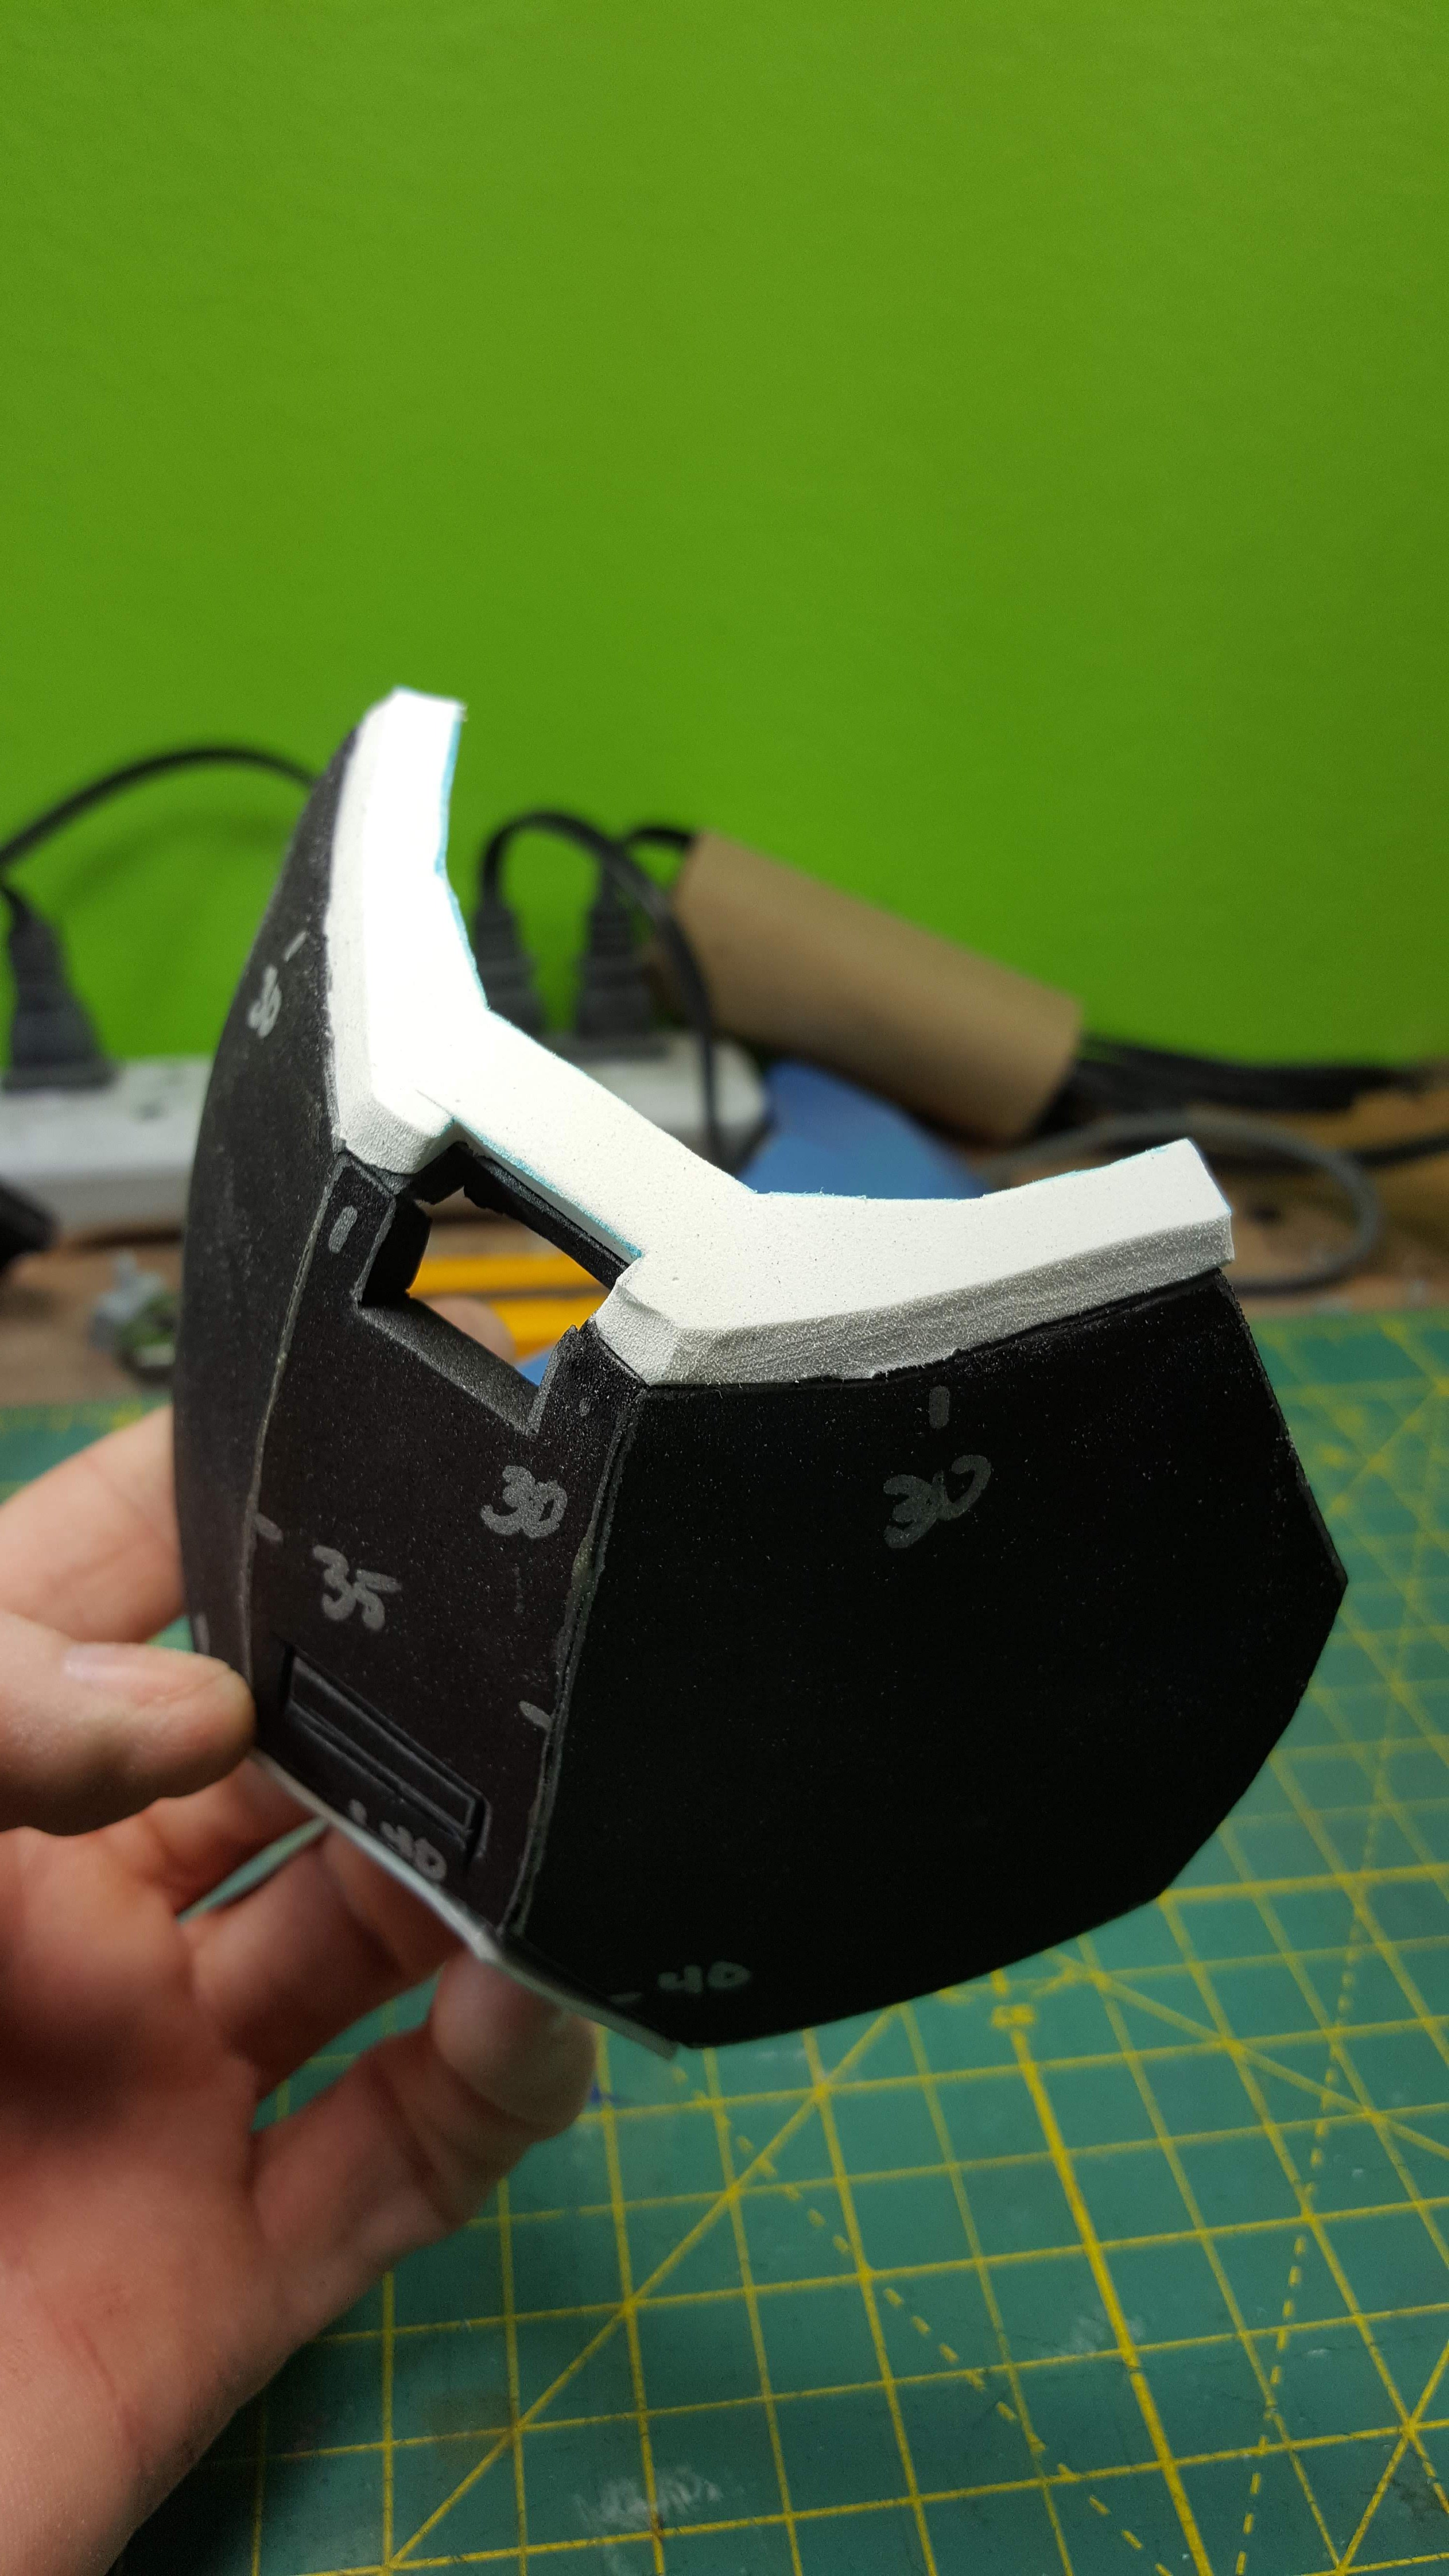
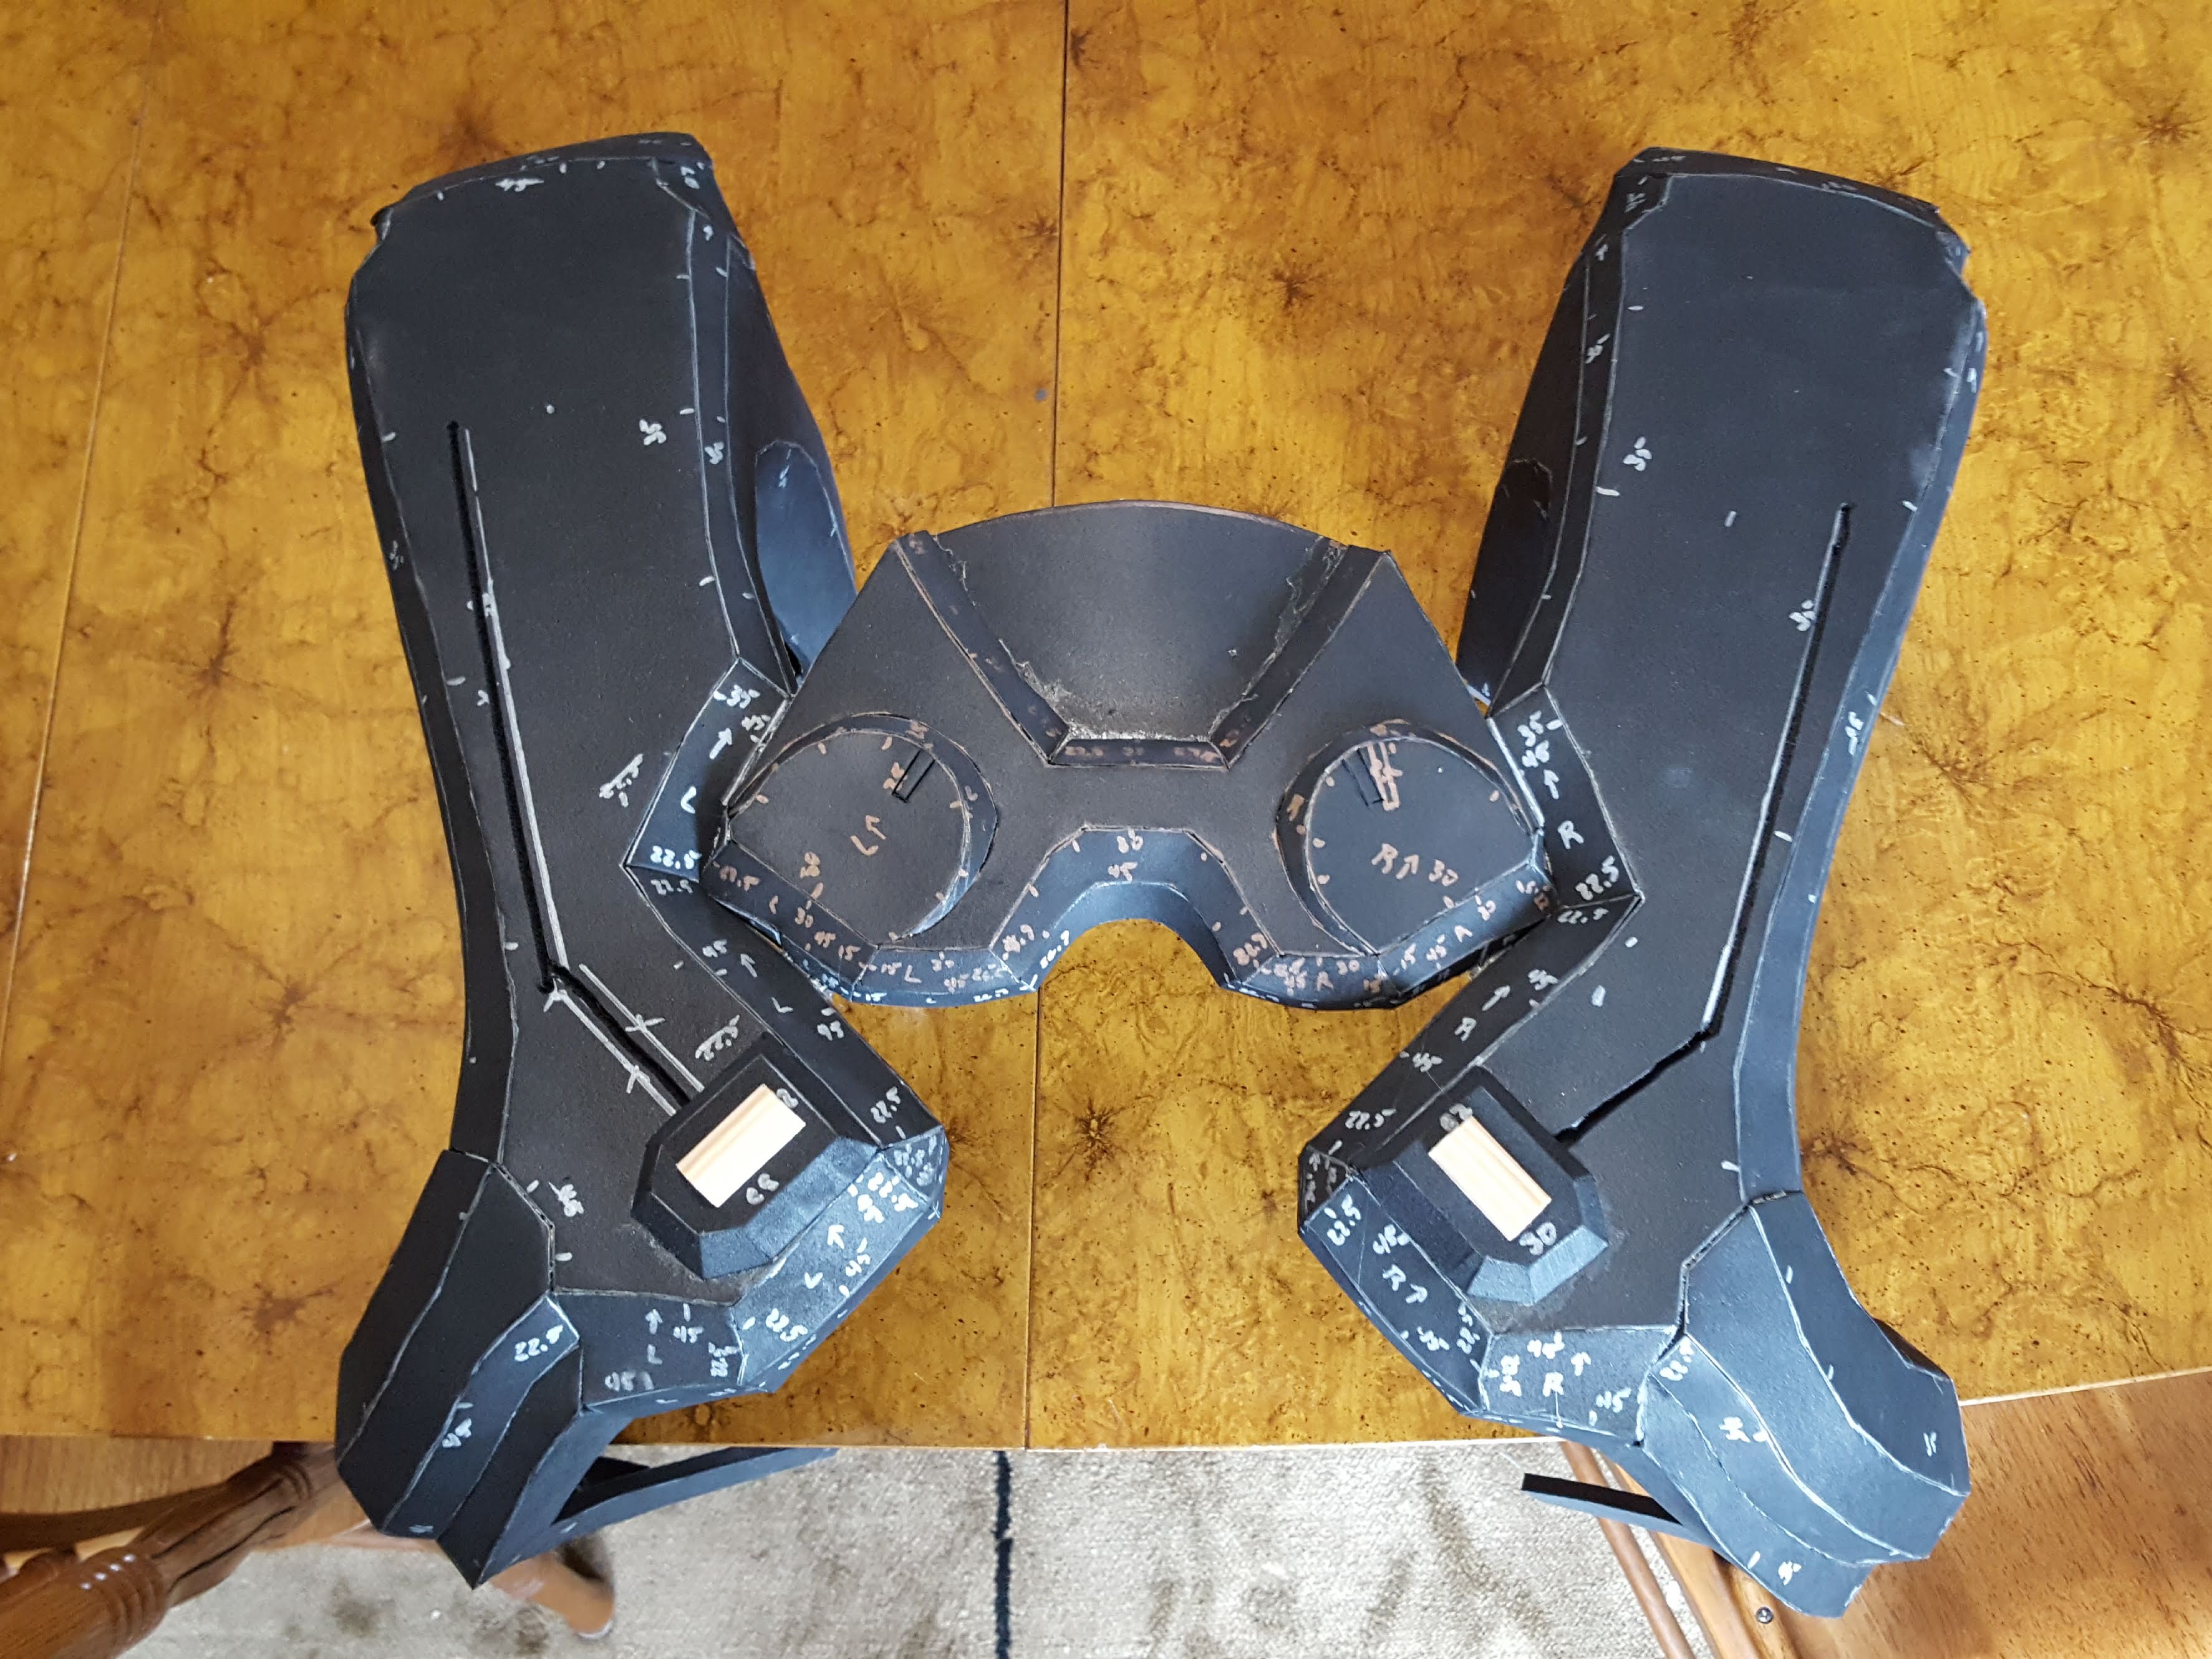
Well the bulk of the power plant has been put together. Gluing it together was a bit interesting as you can see.
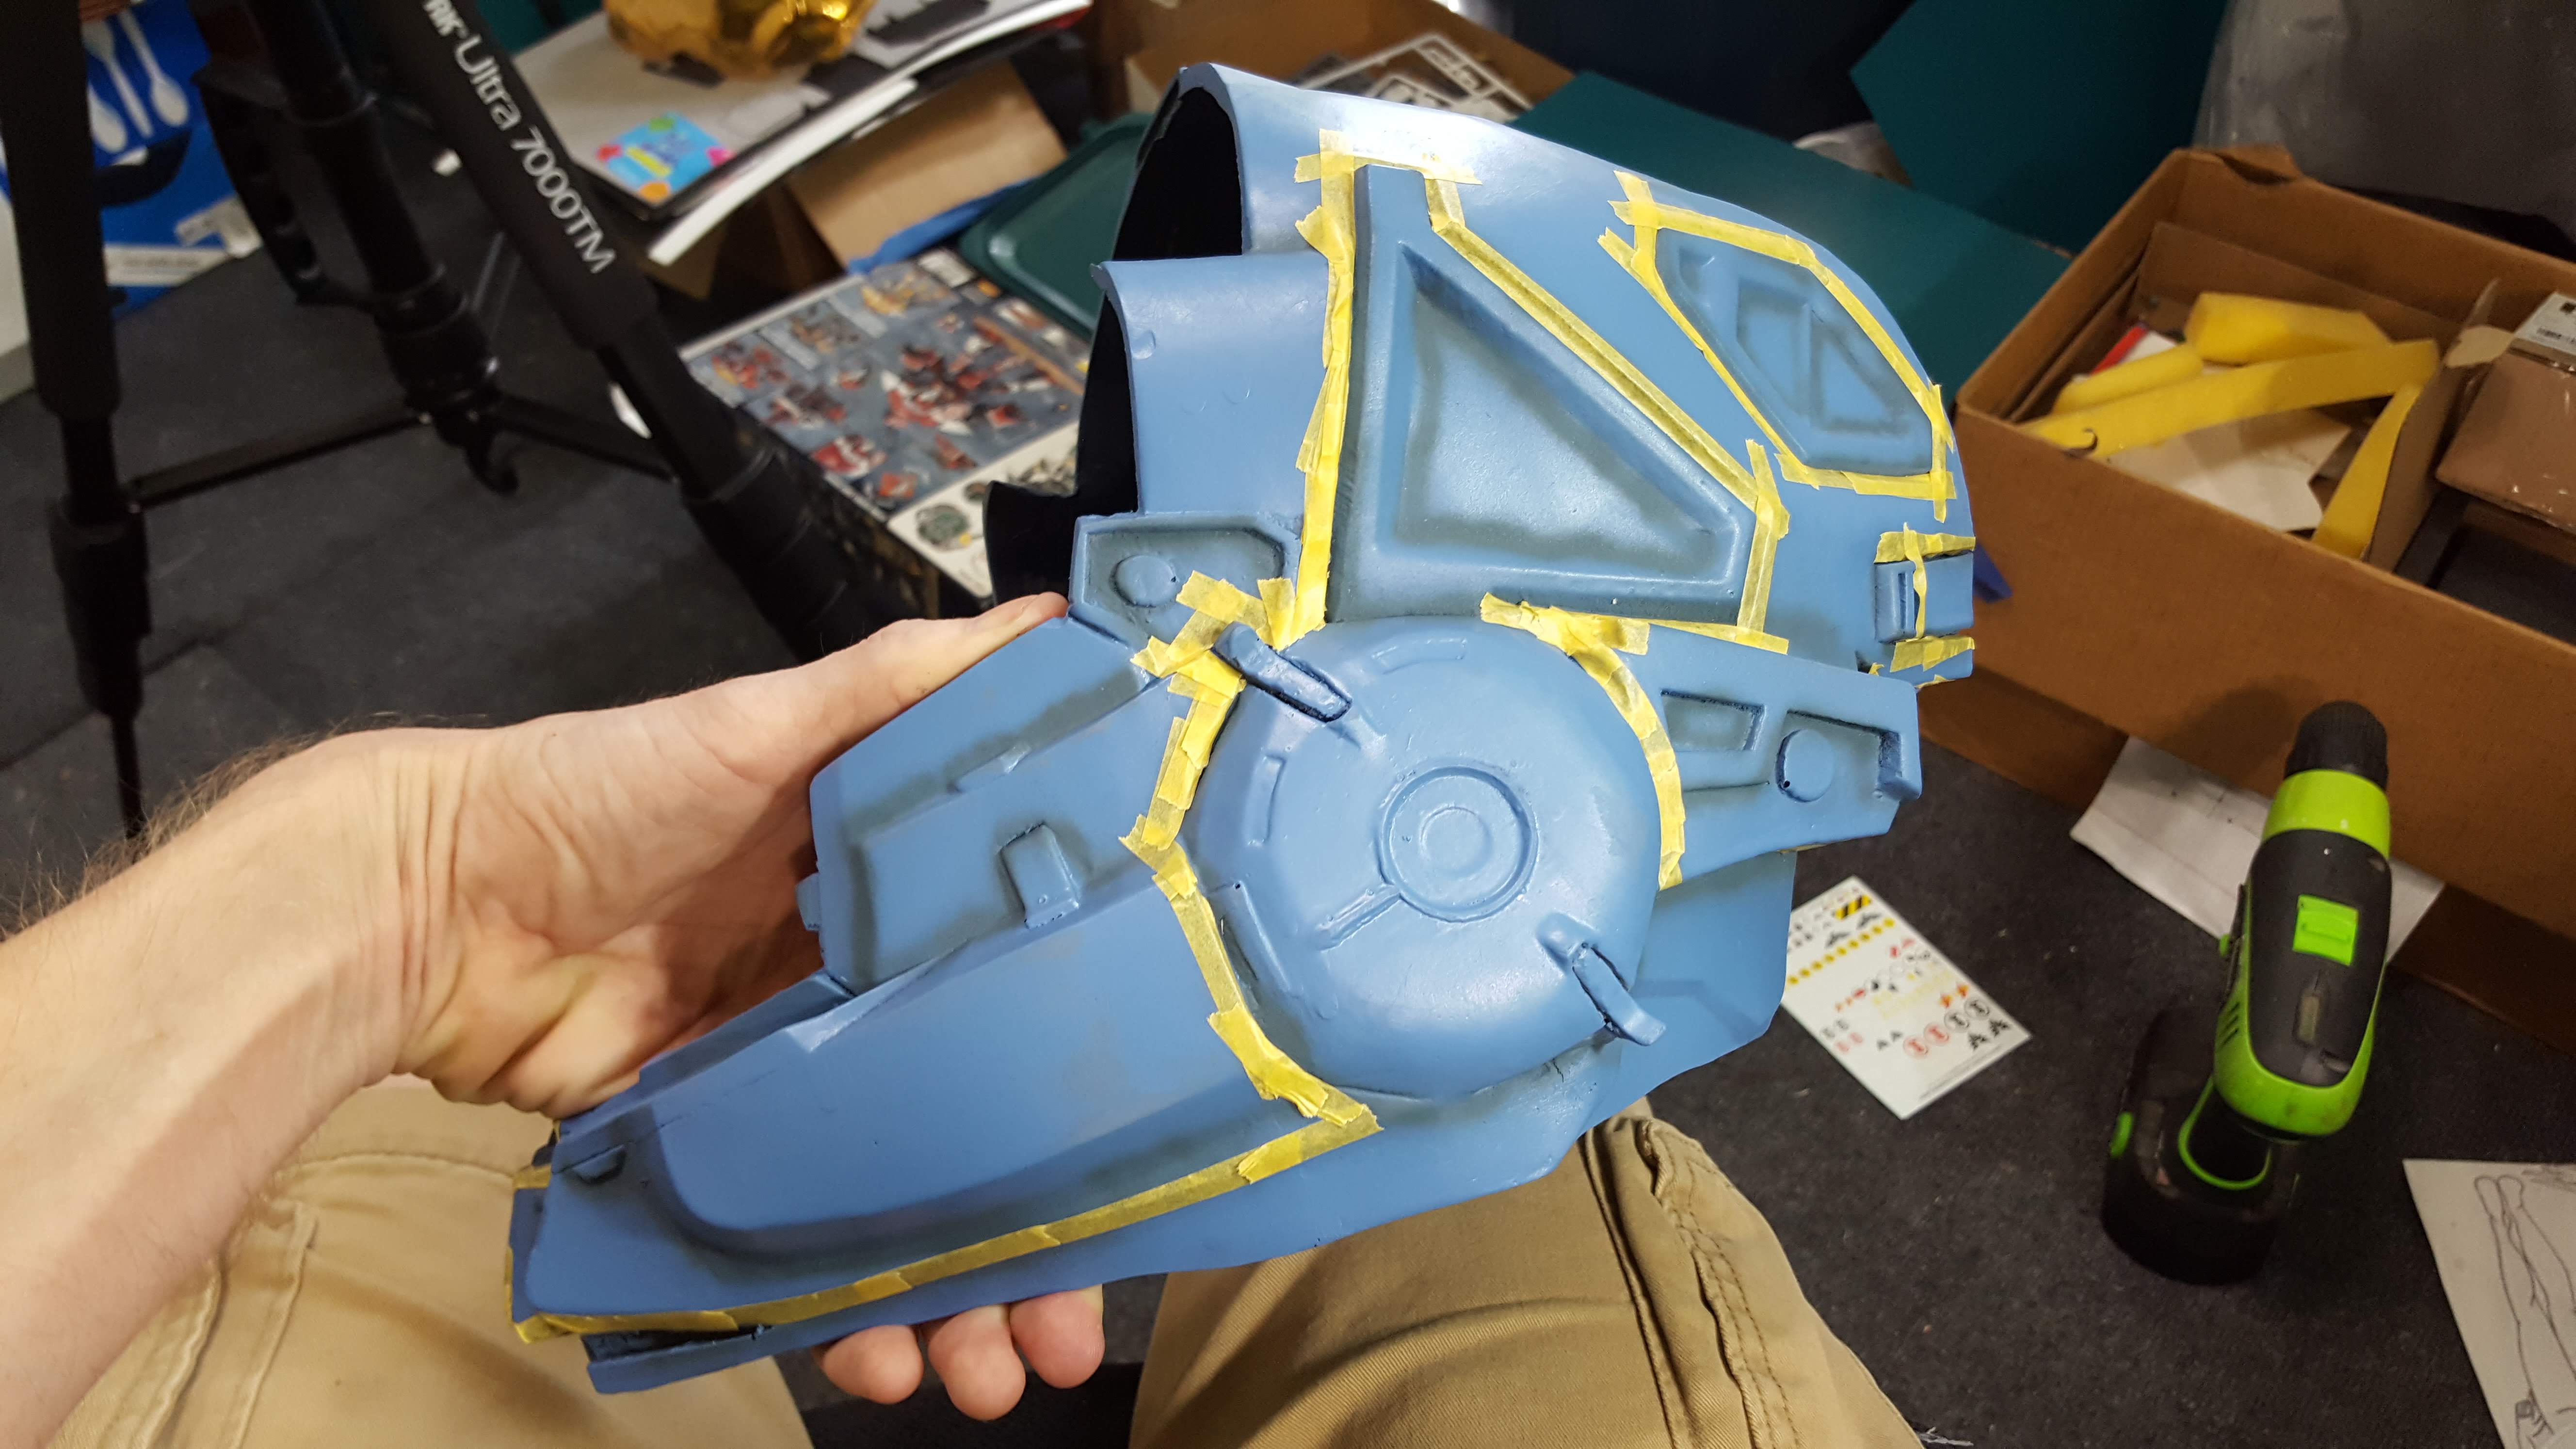
I went ahead and filled in the seams on the lower part of the power plant. I figured it would be easier to do that before I put it together. In order to give me some working time as I glued the top and bottom half together, I used some E6000. I tried it on a test piece, and it works. It's holding the pieces together, but I'm just worried how strong the bond is. I'll double check in a couple days.
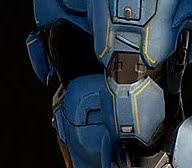
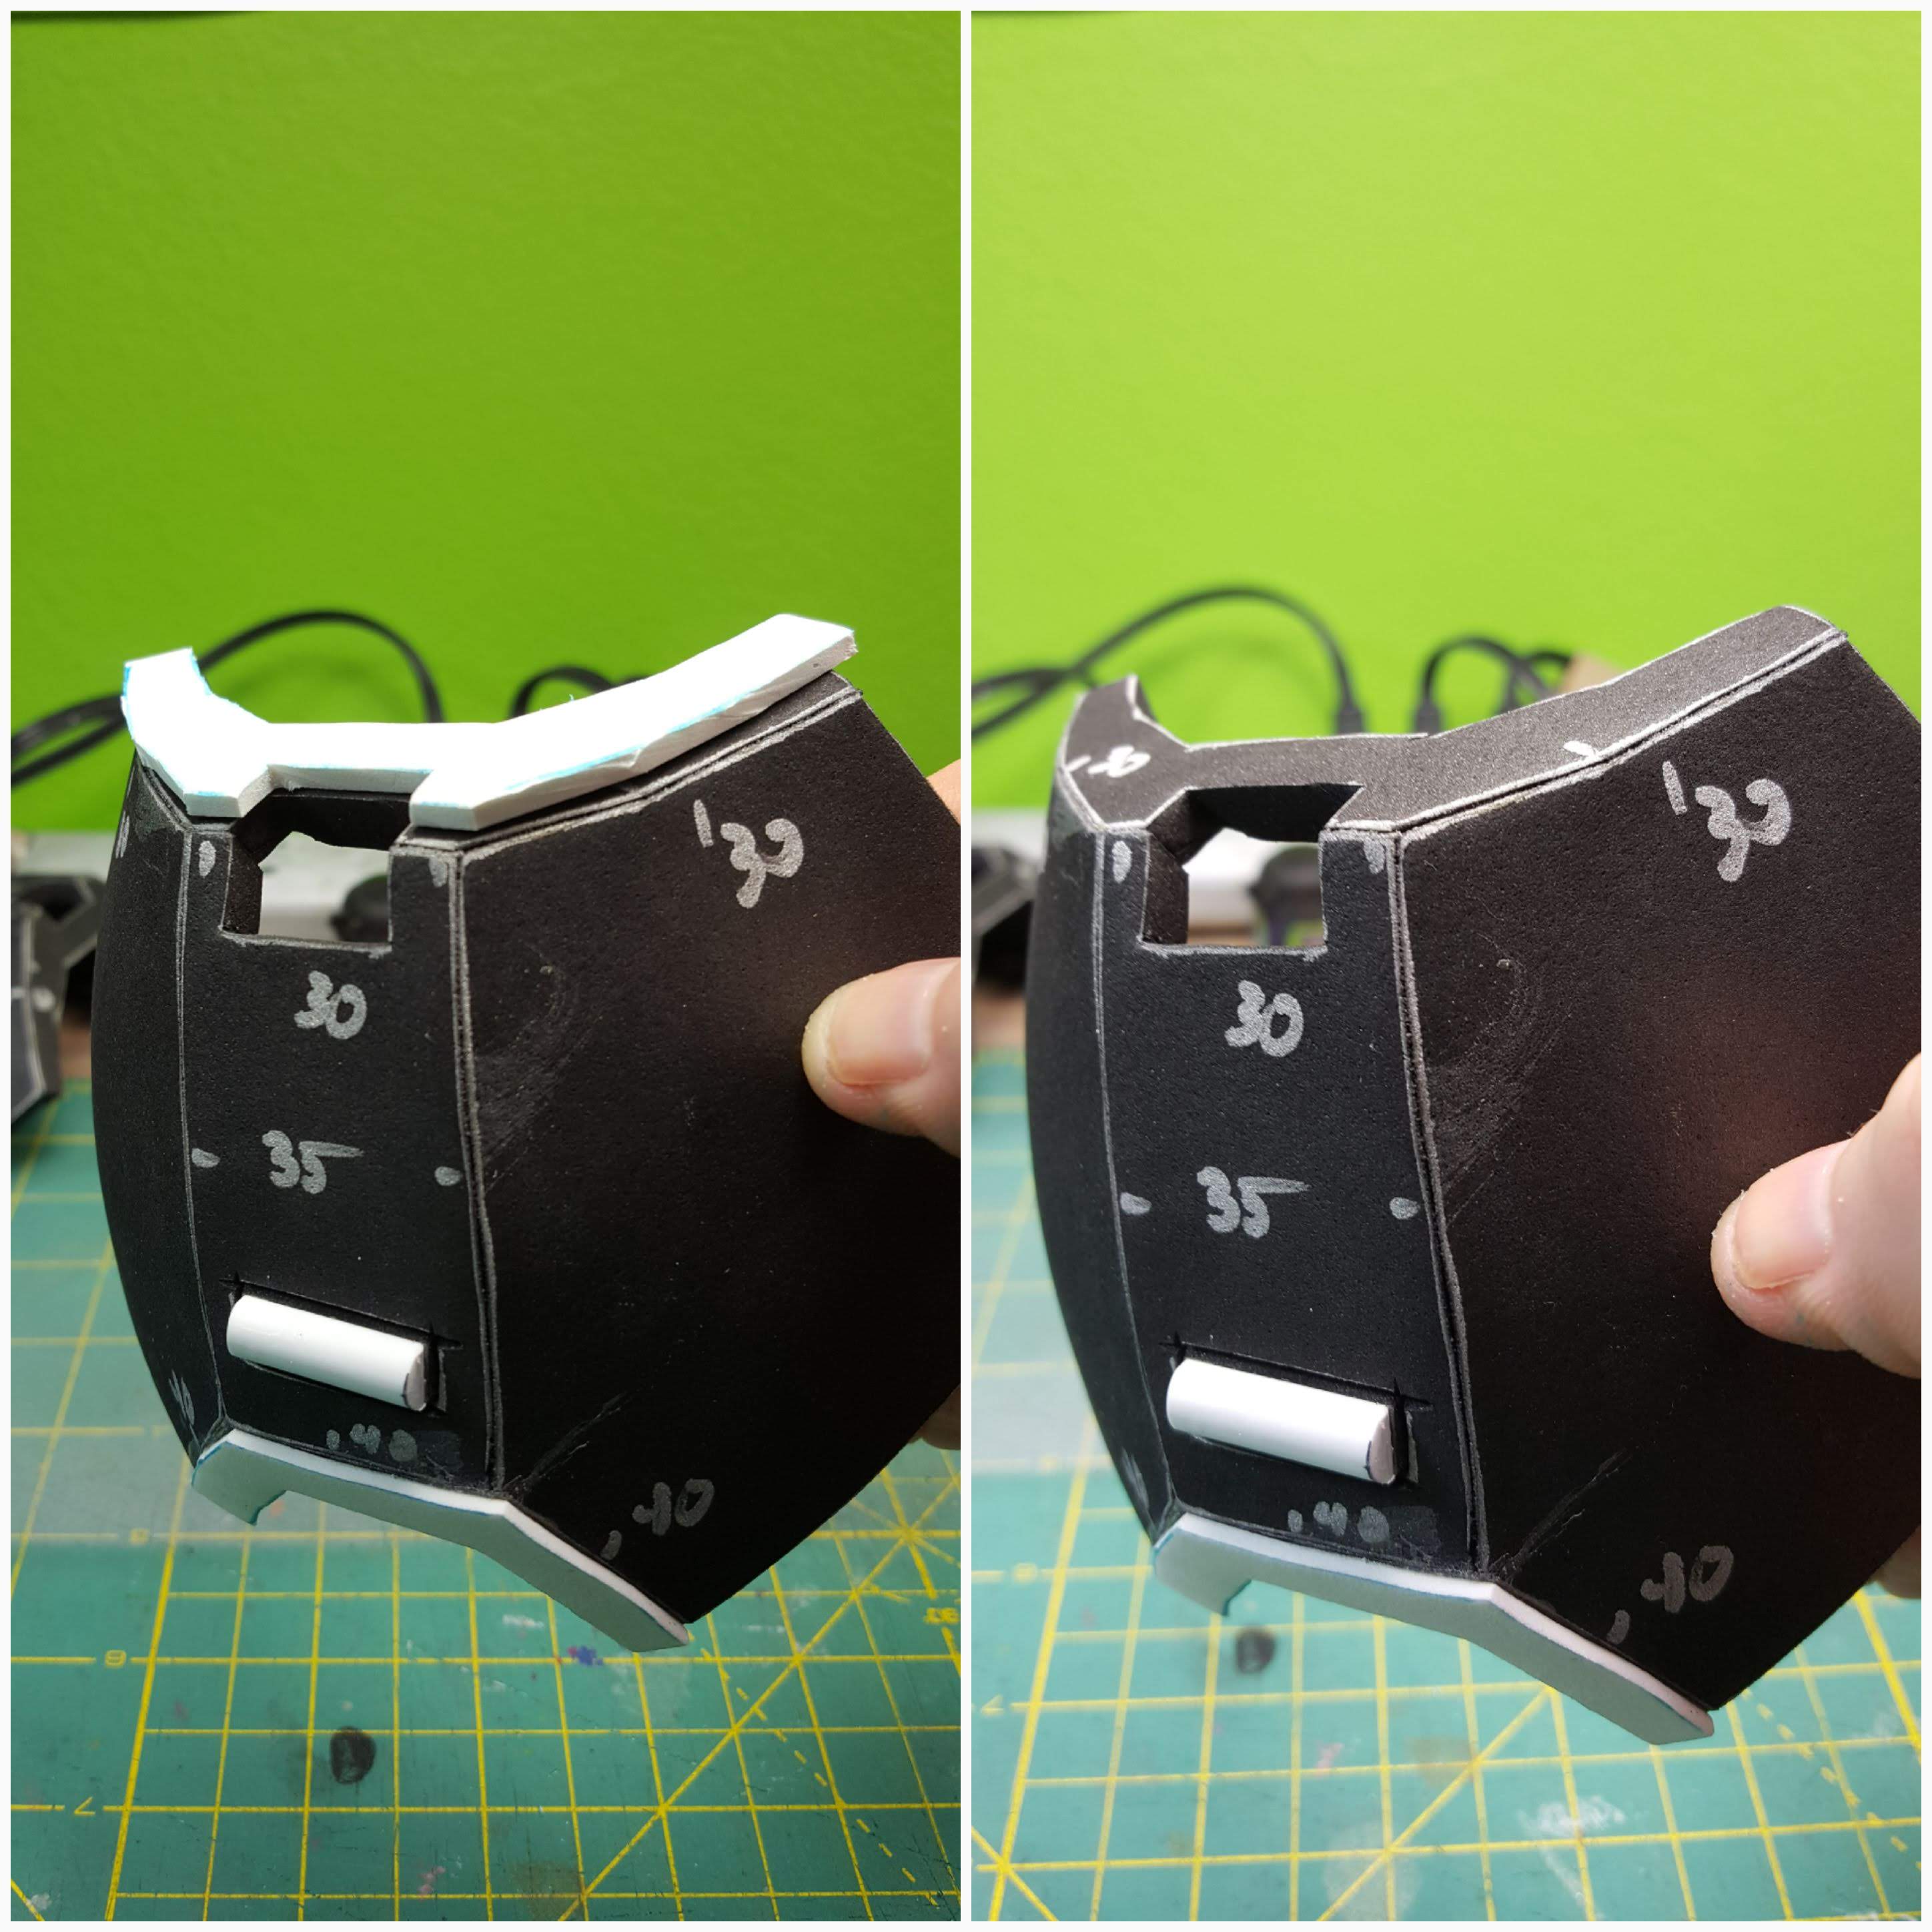
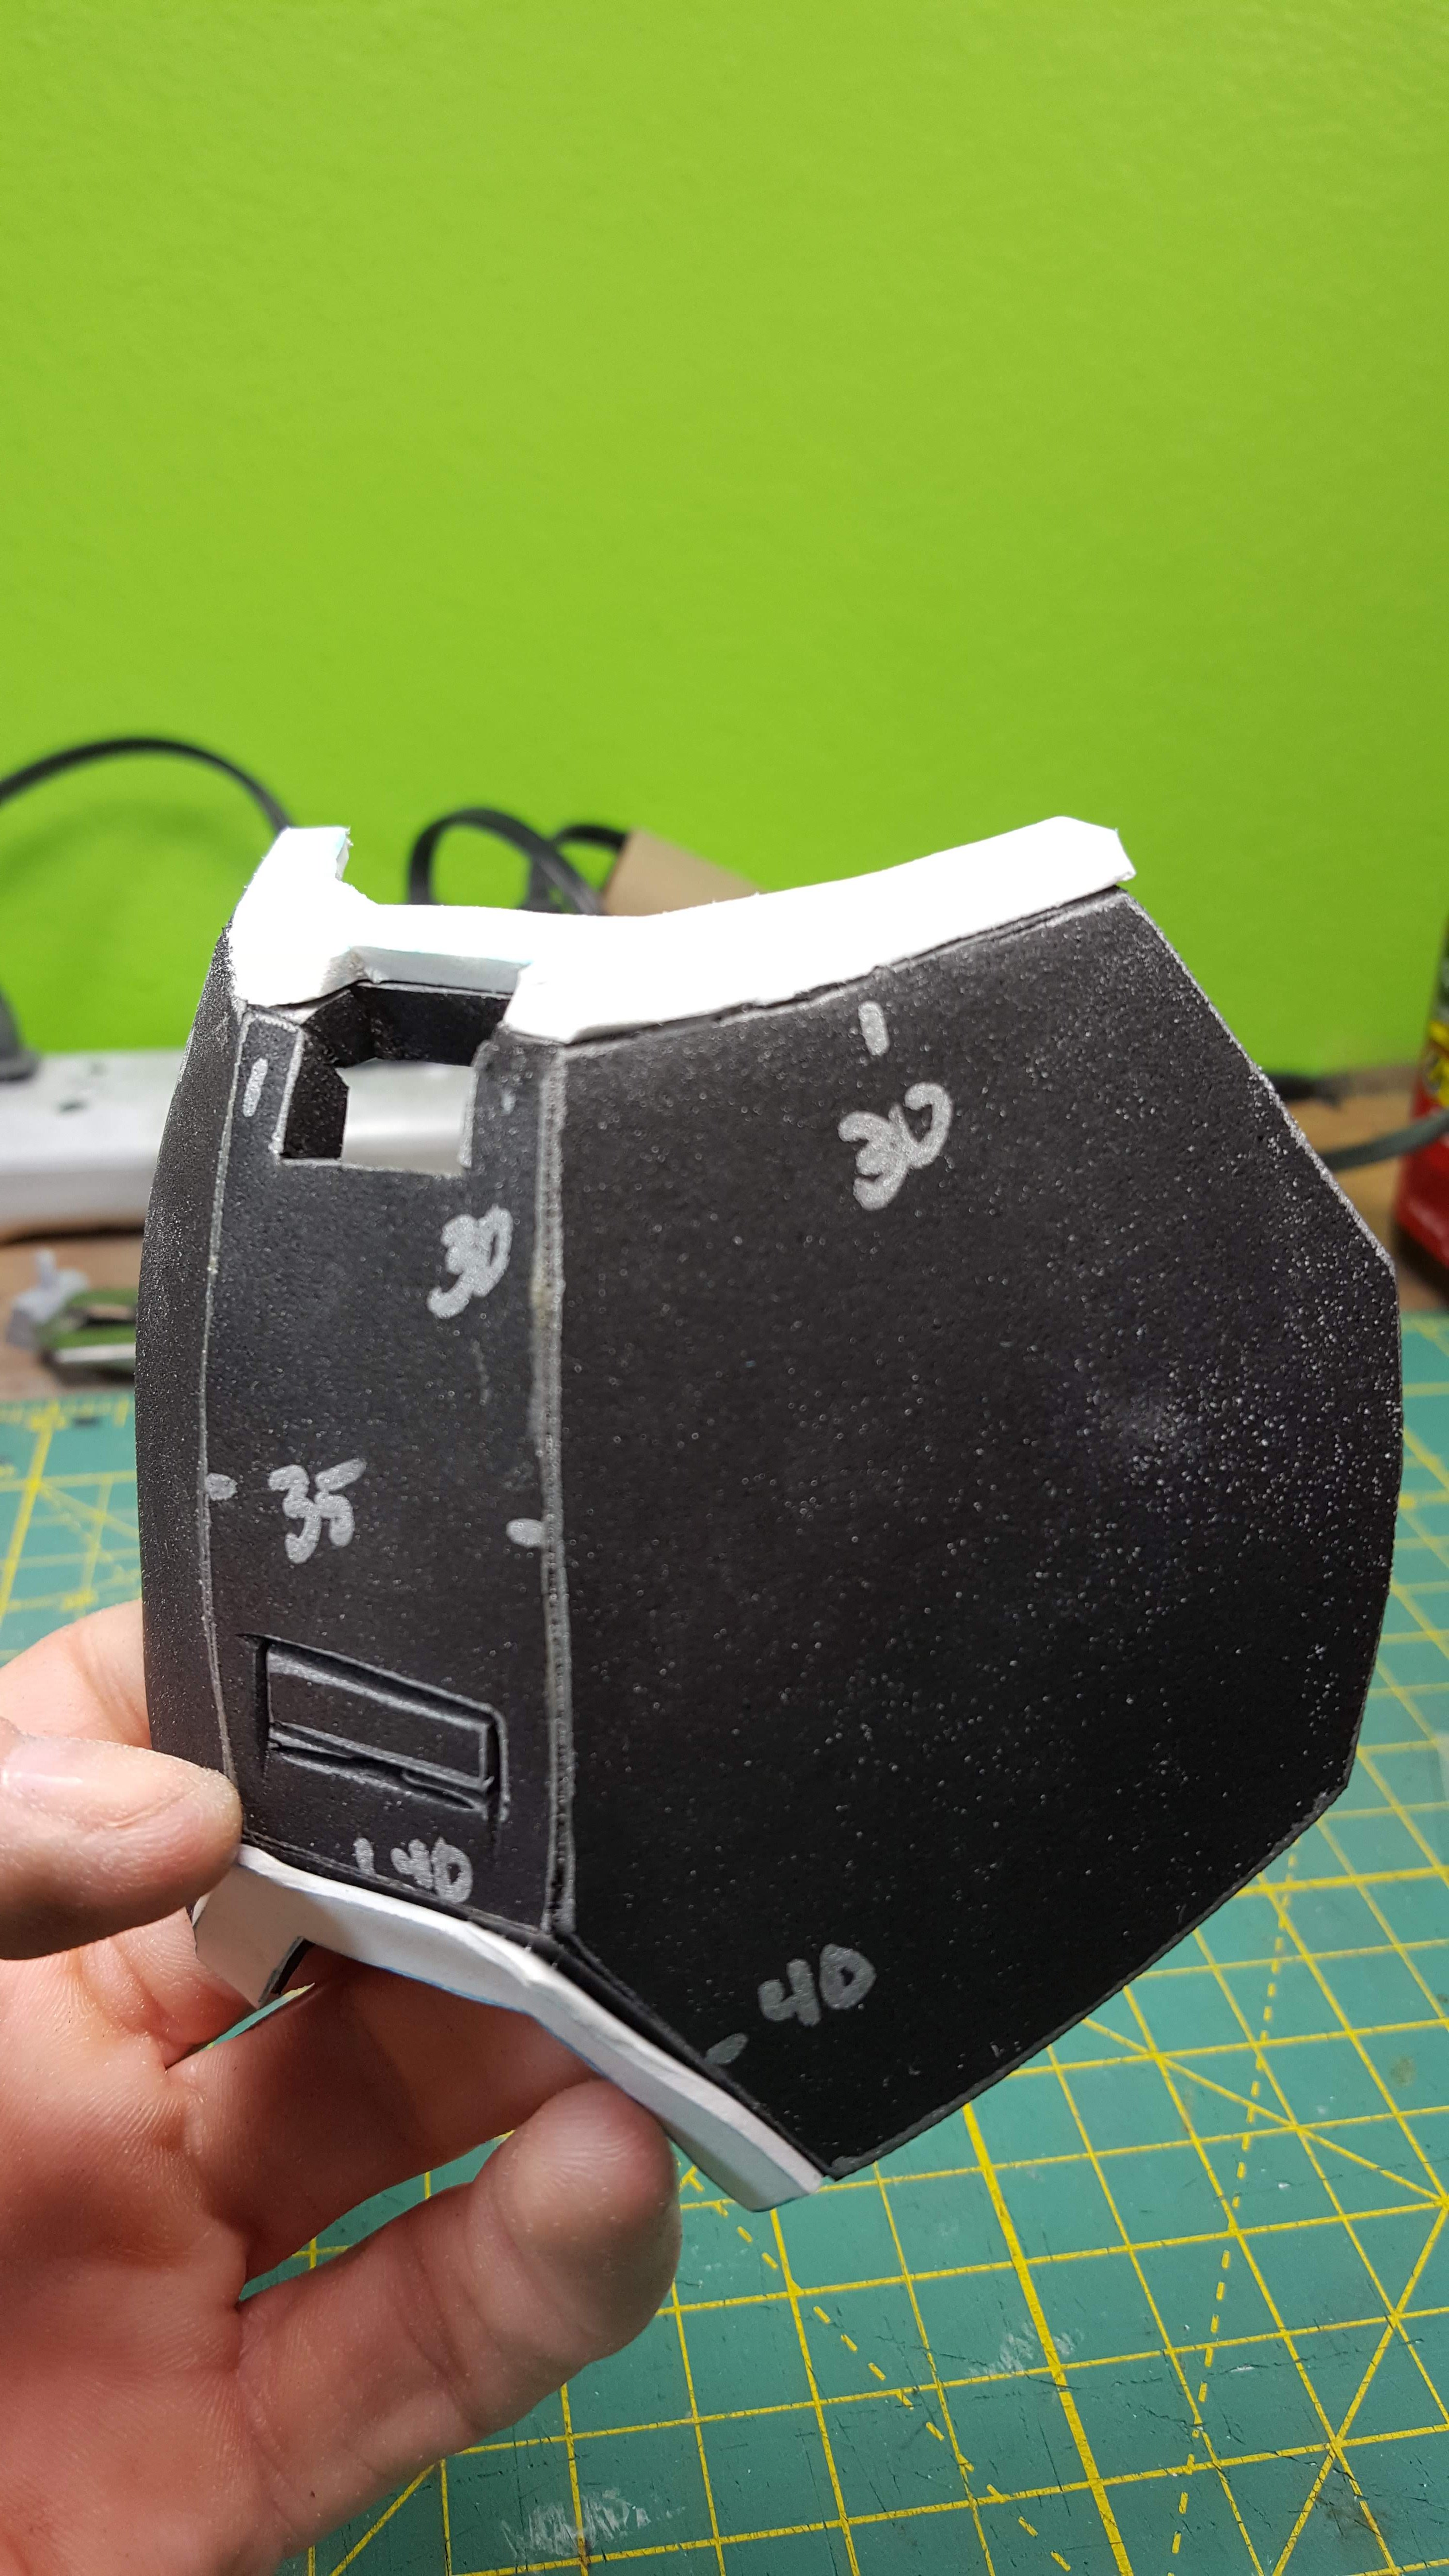
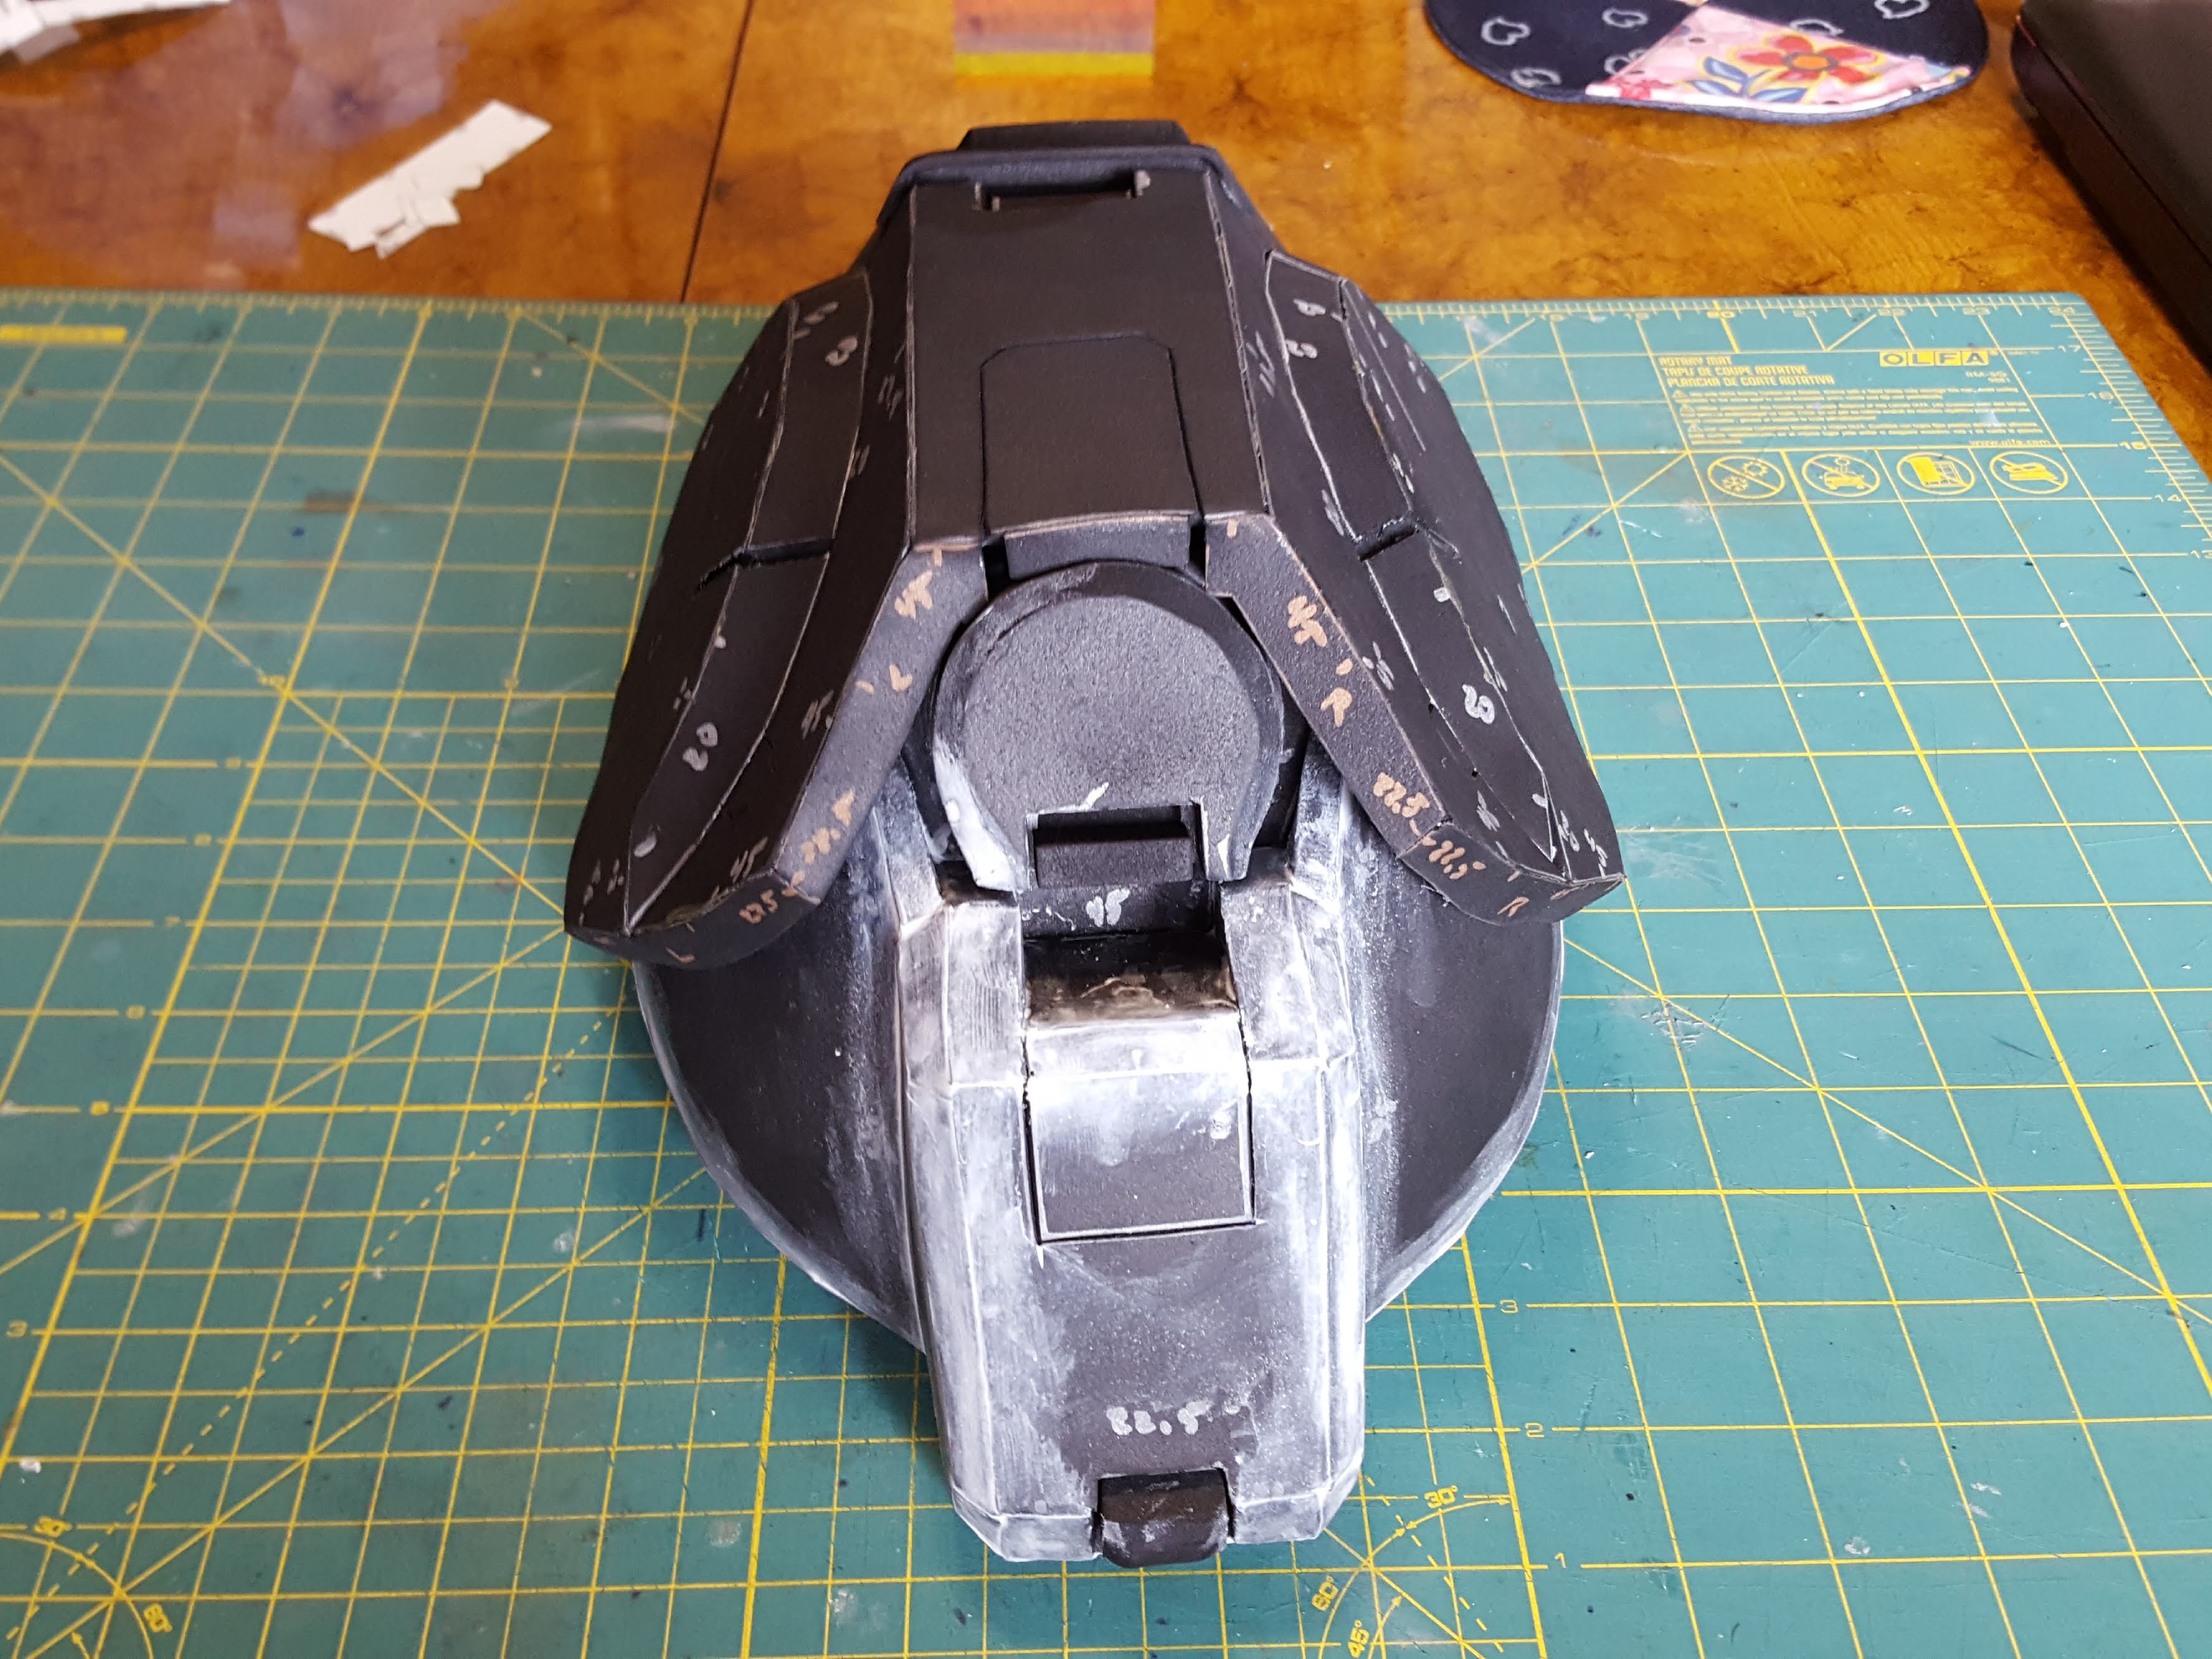
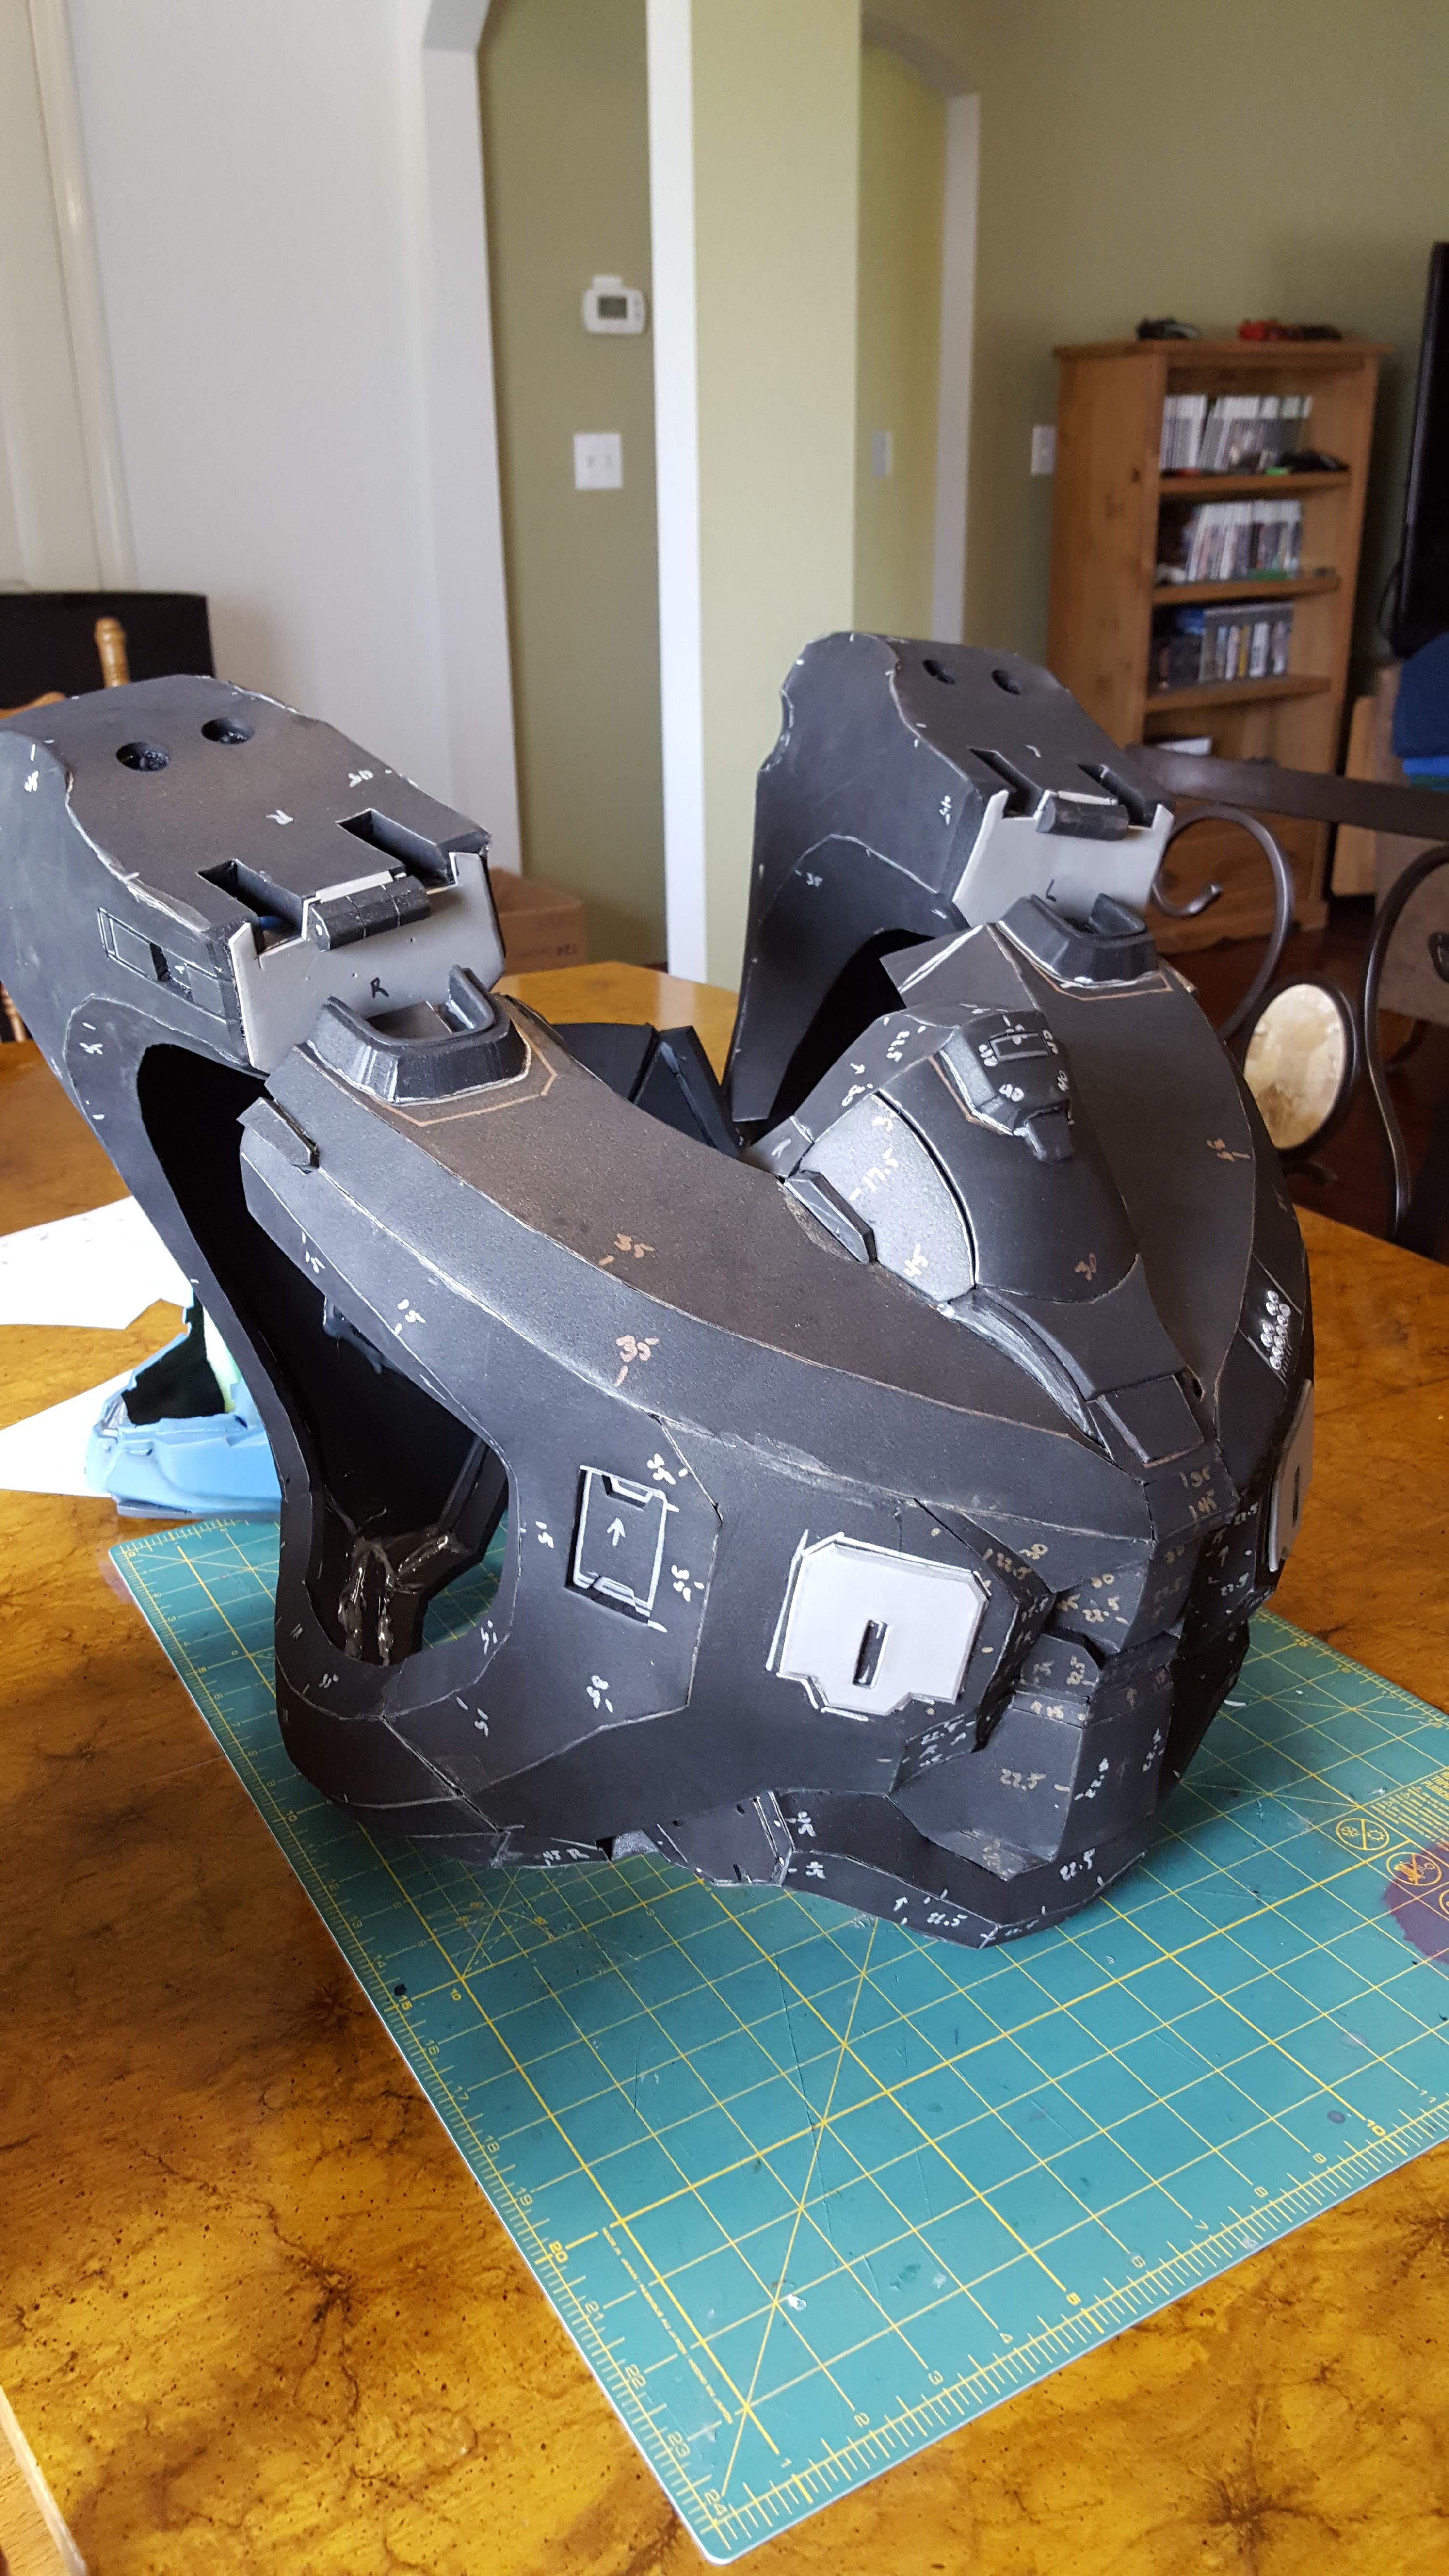
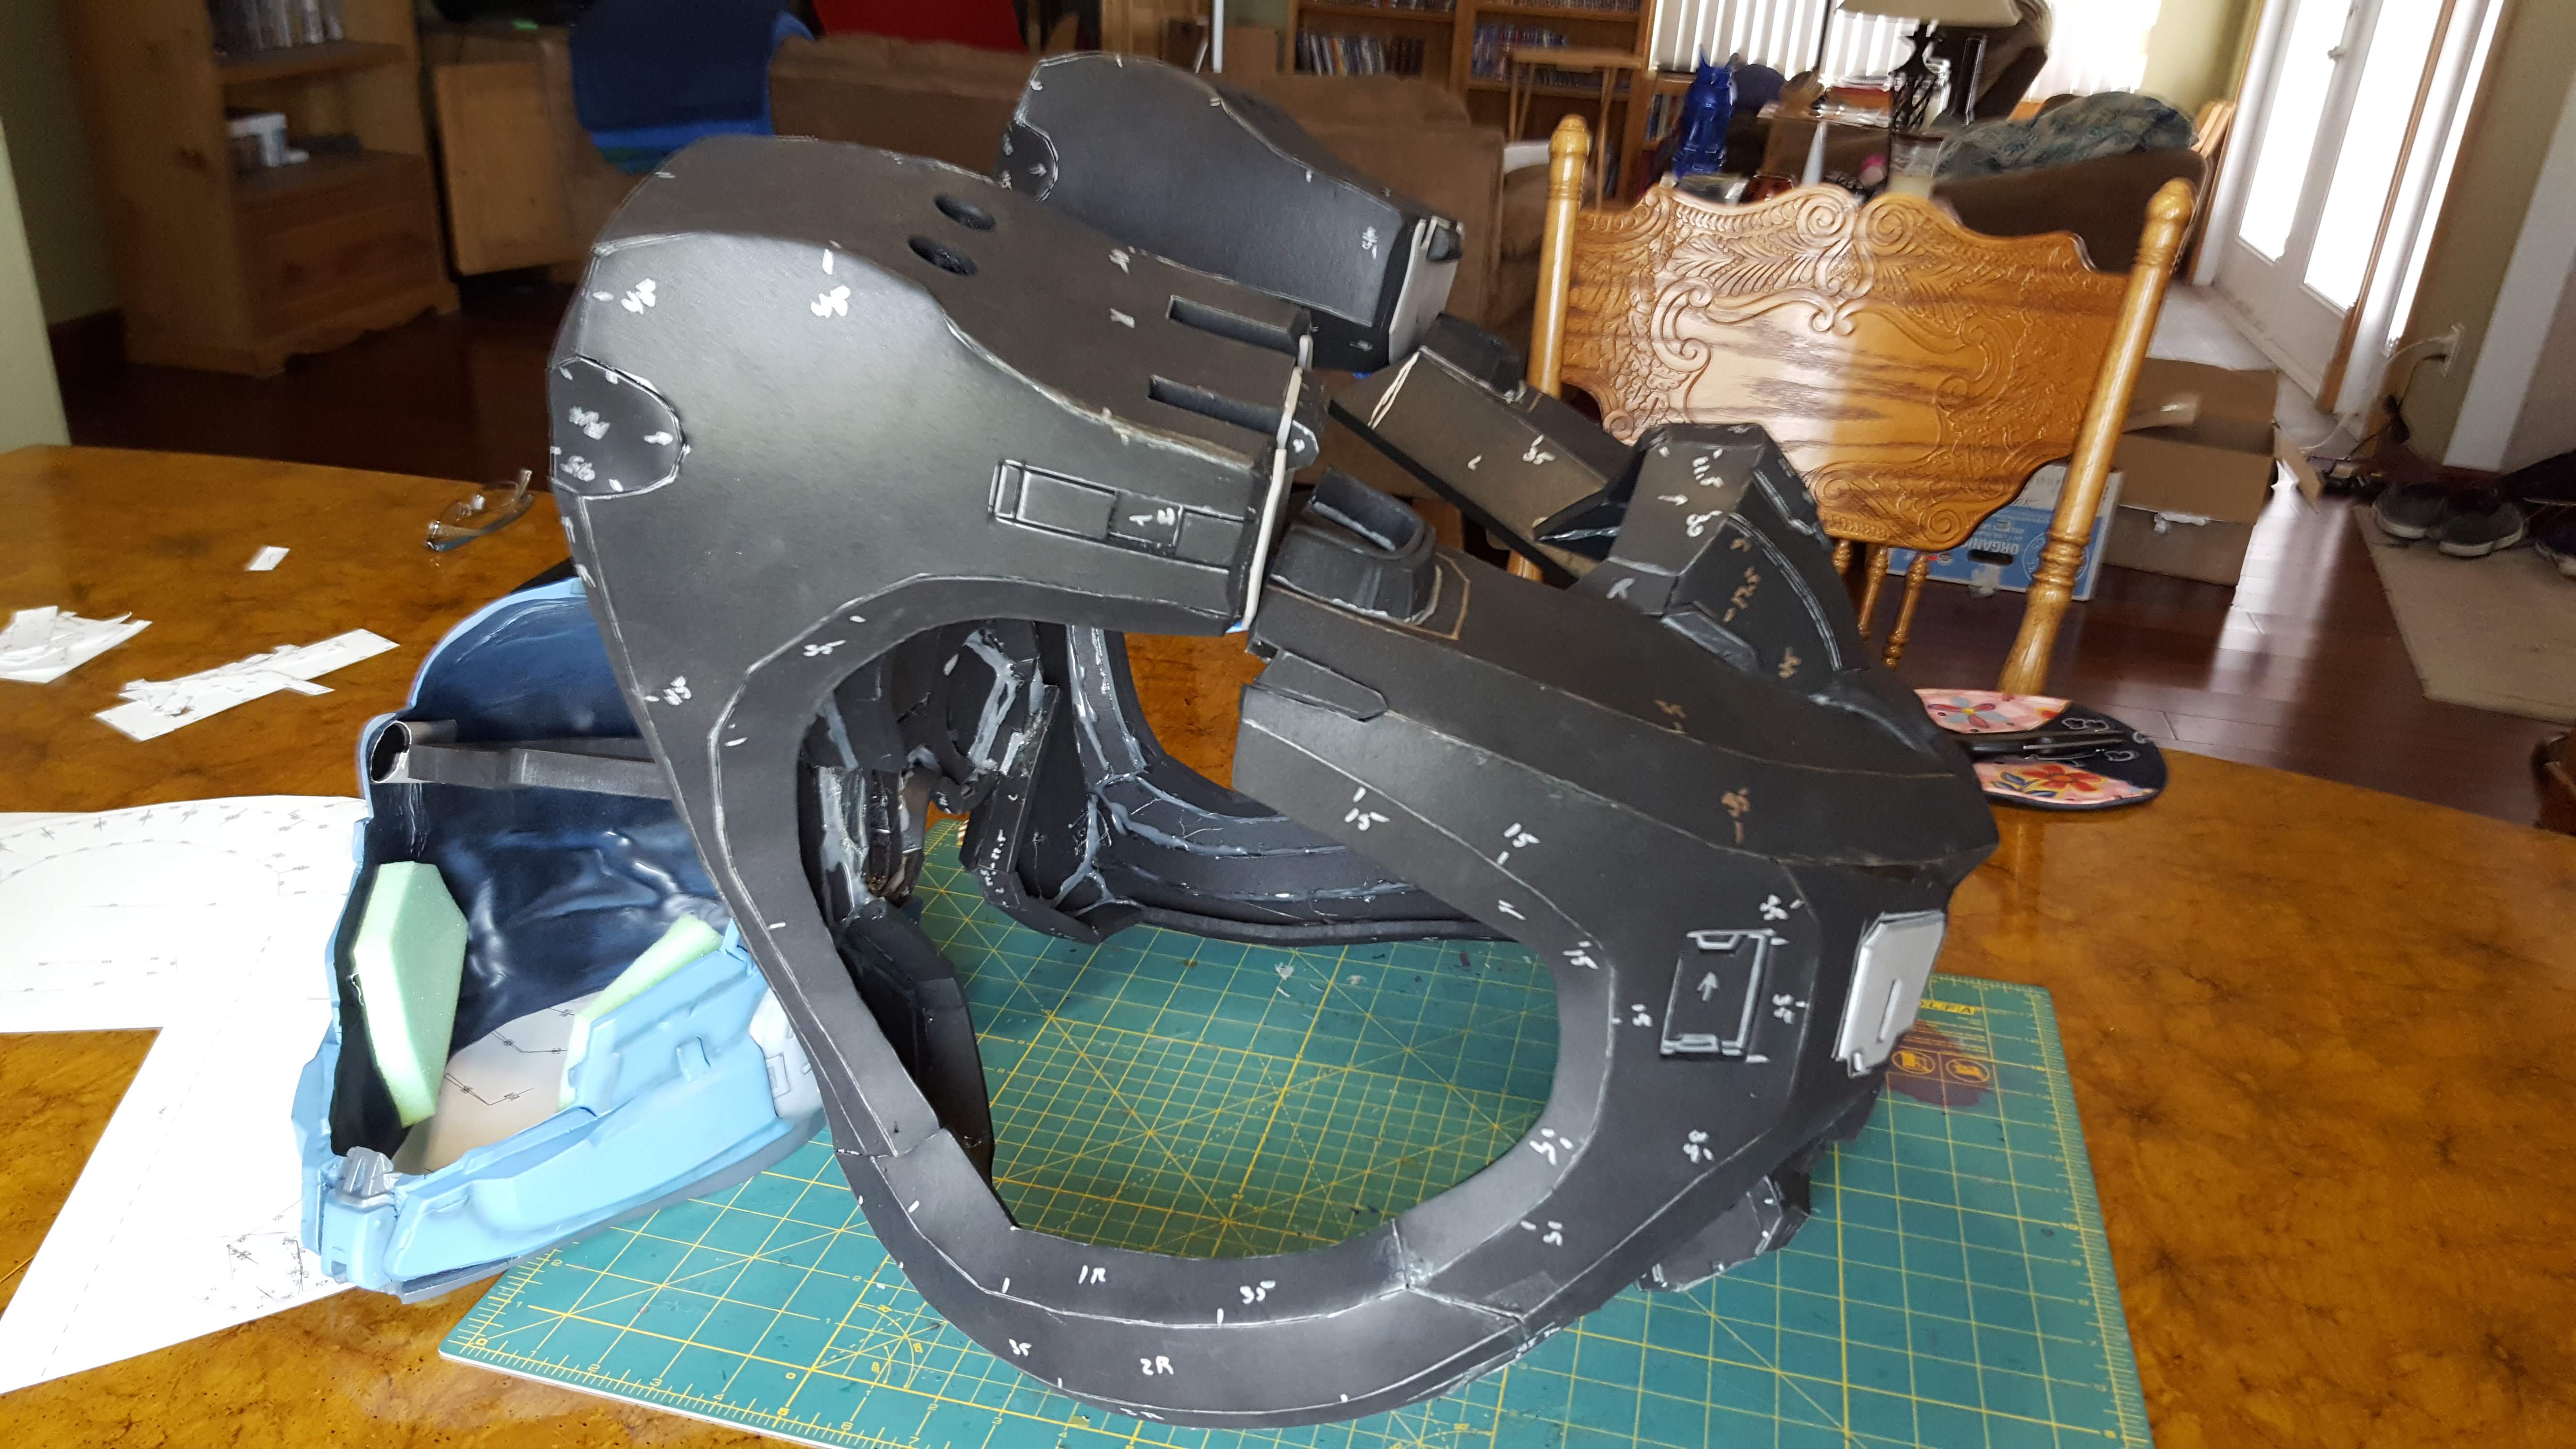
Here's the final results. I just need to finish a few pieces for the lower part of the power plant, and then I can glue that and the shoulder blade parts together. The only thing that's left for the torso are the thruster packs.
Let me know what you think.

I went ahead and filled in the seams on the lower part of the power plant. I figured it would be easier to do that before I put it together. In order to give me some working time as I glued the top and bottom half together, I used some E6000. I tried it on a test piece, and it works. It's holding the pieces together, but I'm just worried how strong the bond is. I'll double check in a couple days.
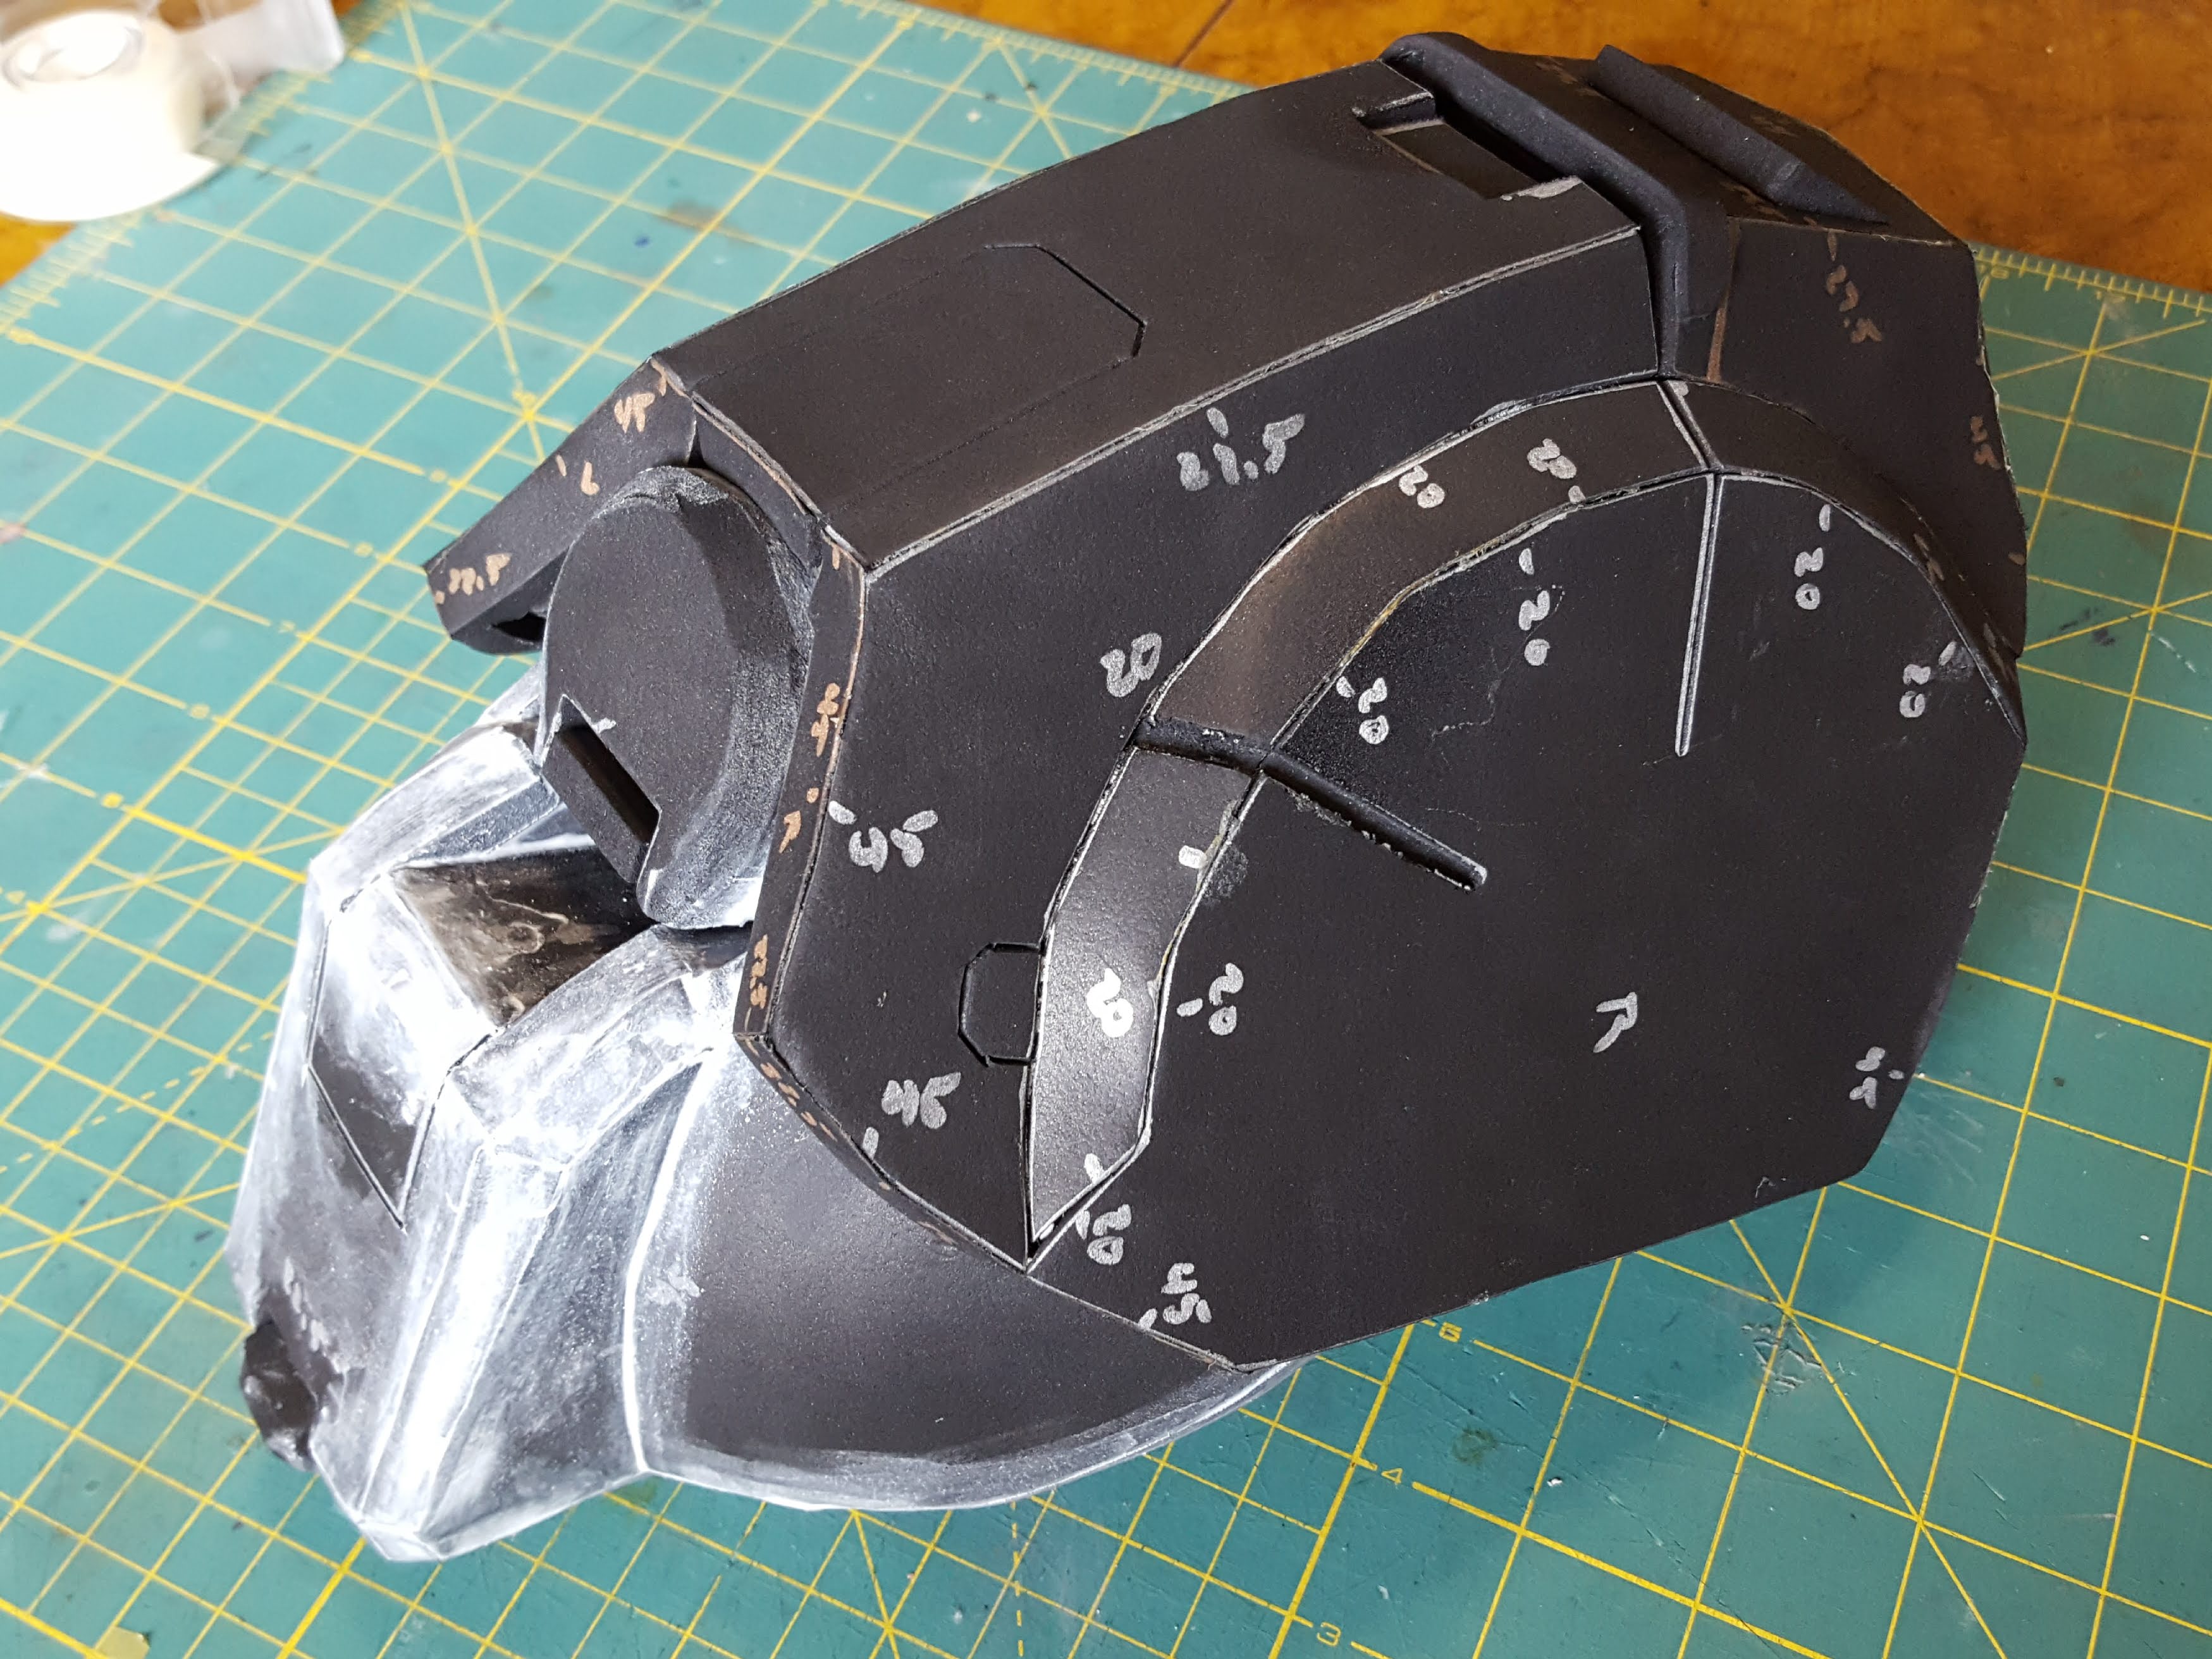
Here's the final results. I just need to finish a few pieces for the lower part of the power plant, and then I can glue that and the shoulder blade parts together. The only thing that's left for the torso are the thruster packs.
Let me know what you think.
")